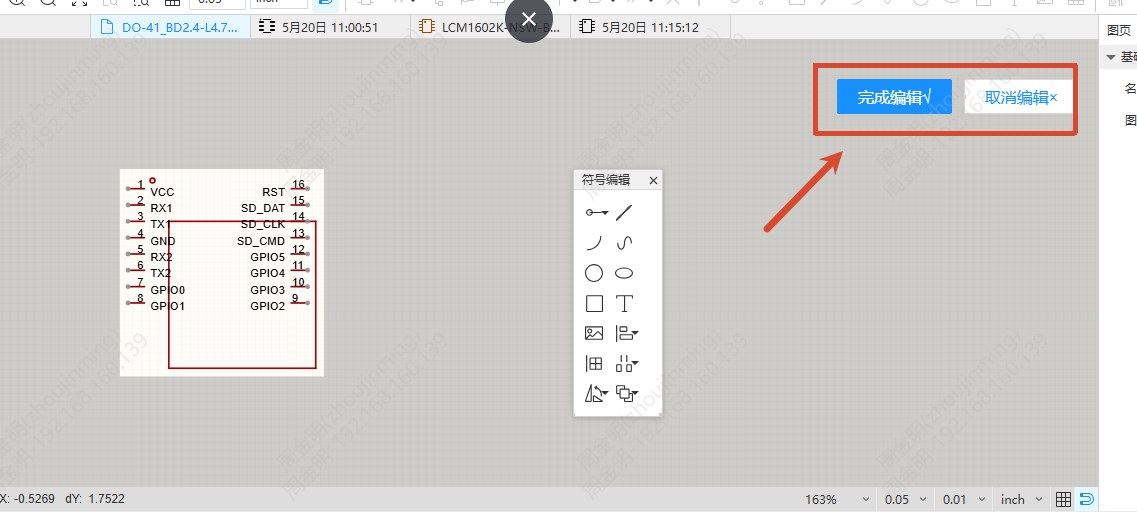
Edit Symbol in Schematic
You can edit a reuse block symbol directly in the schematic editor without switching to the symbol library editor. When the editing is finished, you can choose to apply the changes only to the current instance or sync them to the entire project.
Entrance
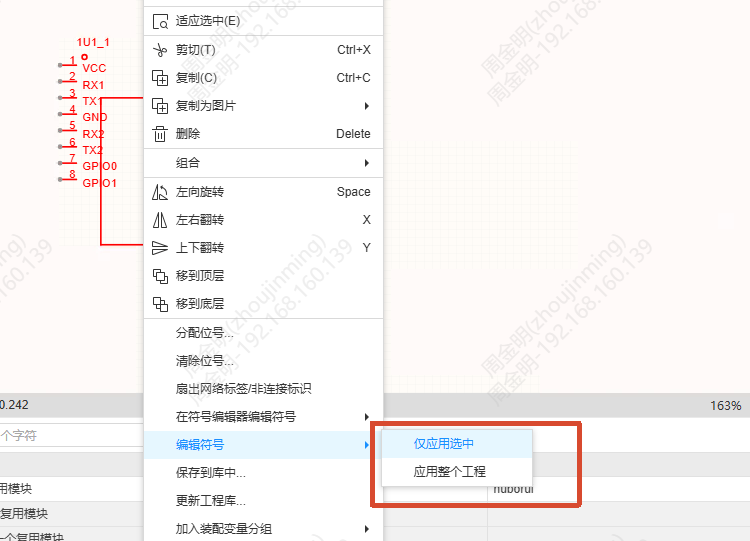
- In the schematic, select a reuse block symbol > right-click > Edit Symbol
- In the schematic, select a reuse block symbol > right-click > Edit Symbol in Symbol Editor (jumps to the symbol library editor; this is the original function)
After selecting Edit Symbol from the right-click menu, select the application range: Apply only selected or Apply the whole project.
Procedure
Enter edit mode
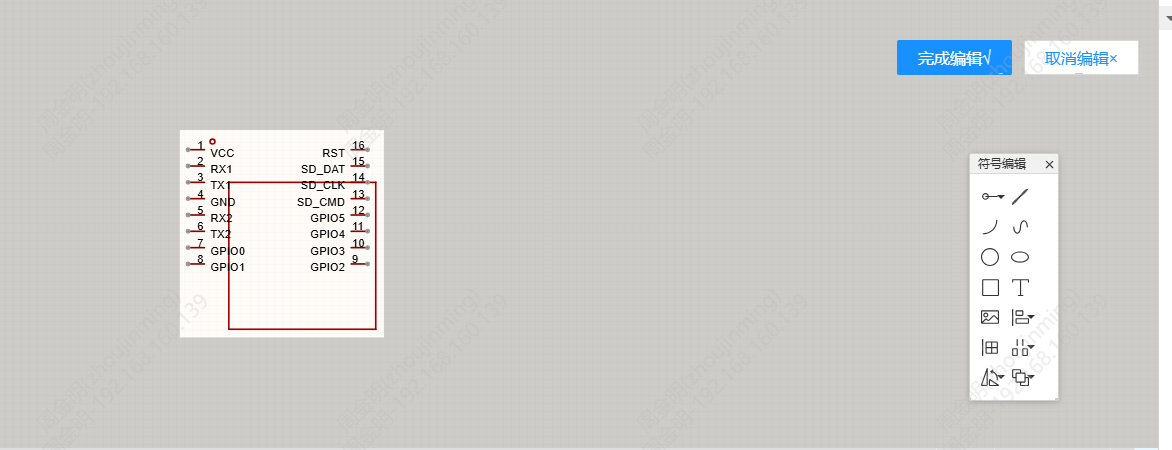
After selecting the application range, the editor enters edit mode:
- All elements on the canvas except the selected symbol are grayed out and cannot be selected or edited.
- The wires connecting the selected symbol to the rest of the schematic are temporarily disconnected, and are restored automatically after you exit editing.
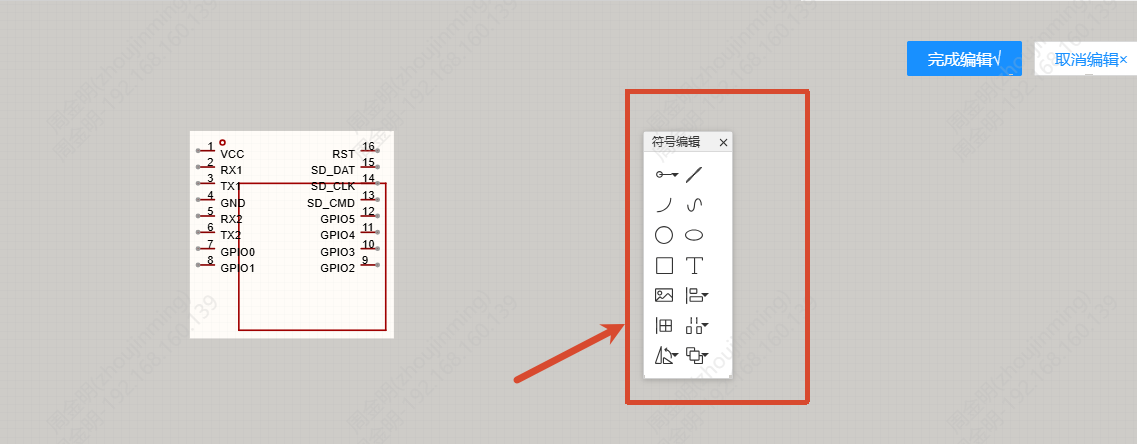
- The symbol editing floating toolbar is loaded, and the tab remains the current schematic tab.
Edit the symbol
Use the editing tools to work on the graphical style of the symbol (drawing/deleting primitives, adjusting colors, etc.) and the pin style (adding/deleting pins, modifying pin numbers/names, adjusting positions, etc.).
Exit editing
- Finish Edit: Right-click a blank area and select "Finish Edit", or click "Finish Edit" in the upper right corner. After the check passes, the editor exits, updates the canvas and restores the connections.
- Esc key: A dialog asks whether to save the changes; you can choose to save, not save, or cancel.
- Cancel Edit: Right-click a blank area and select "Cancel Edit", or click "Cancel Edit" in the upper right corner, to discard the changes and exit.
According to the application range selected earlier, the changes are synced to the current instance only, or to all instances in the entire project.