Table
Table
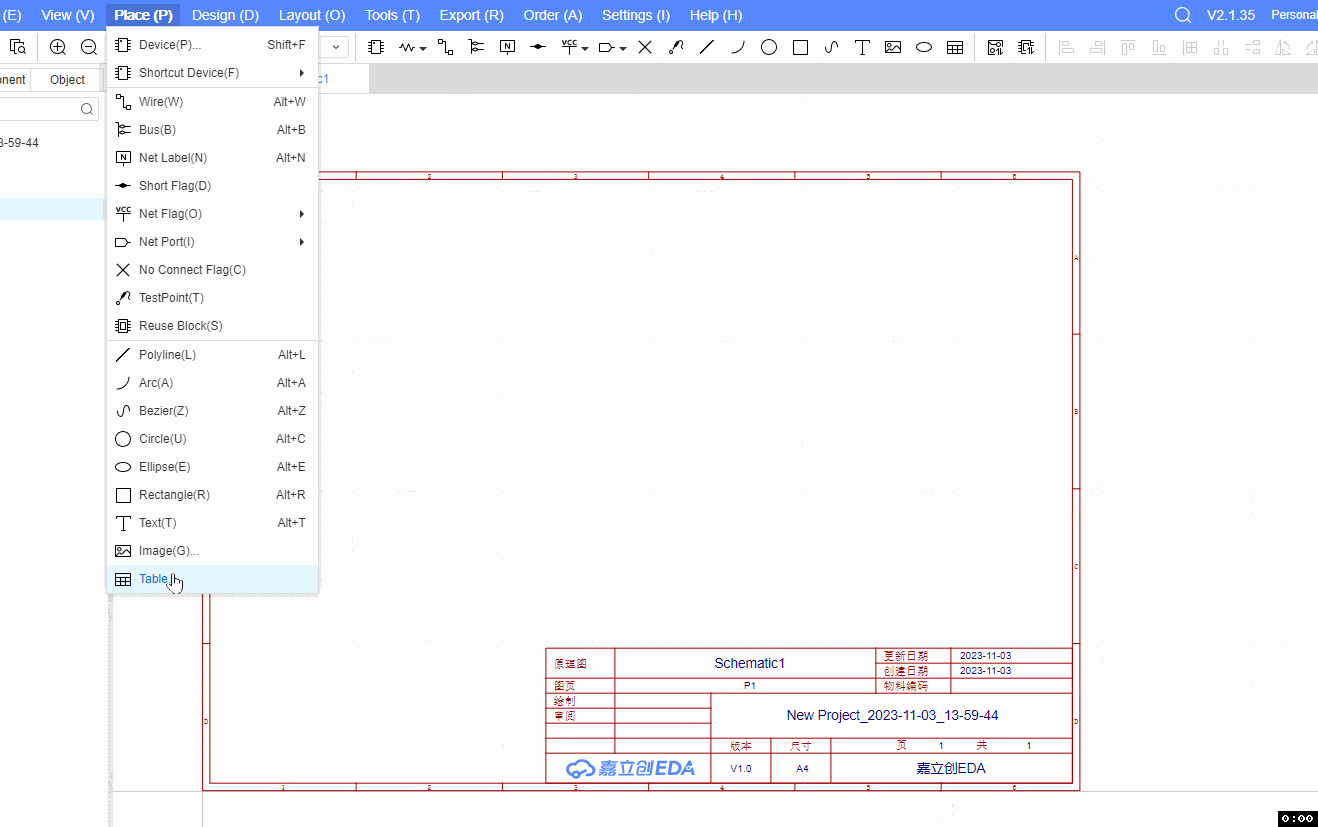
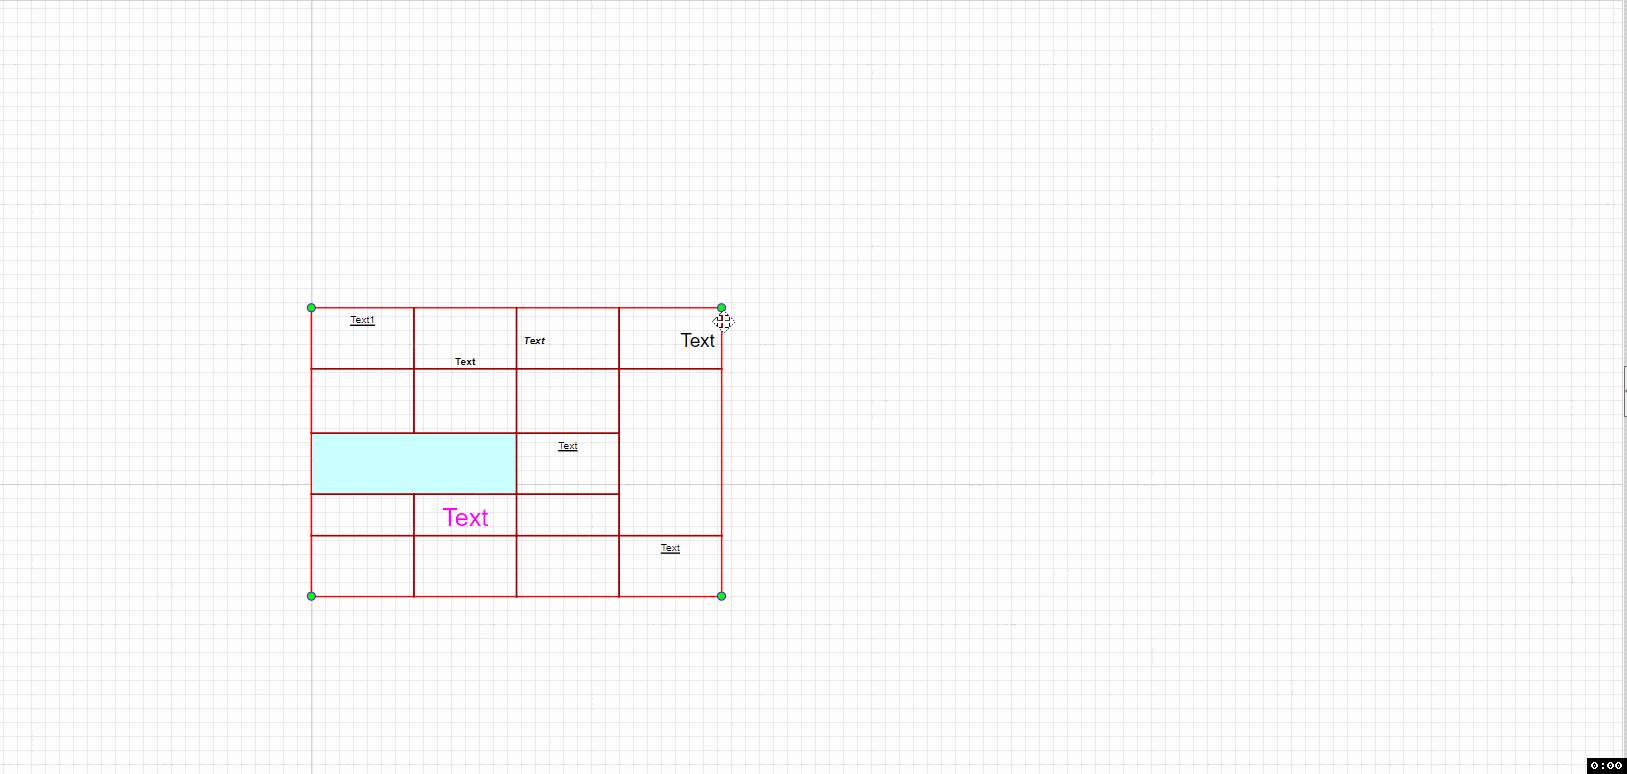
In EasyEDA Pro, the schematic diagram can be placed in a table, which is convenient for everyone to explain and view the schematic diagram.
Operation entrance:
- Top Menu - Place - Table...
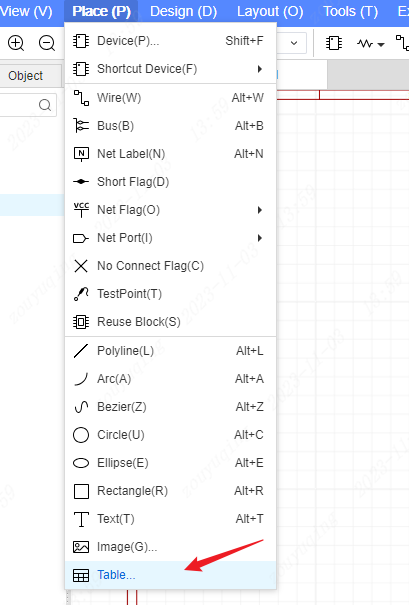
- Or directly click the table icon in the top toolbar

Create Table
Table Properties Pop-up
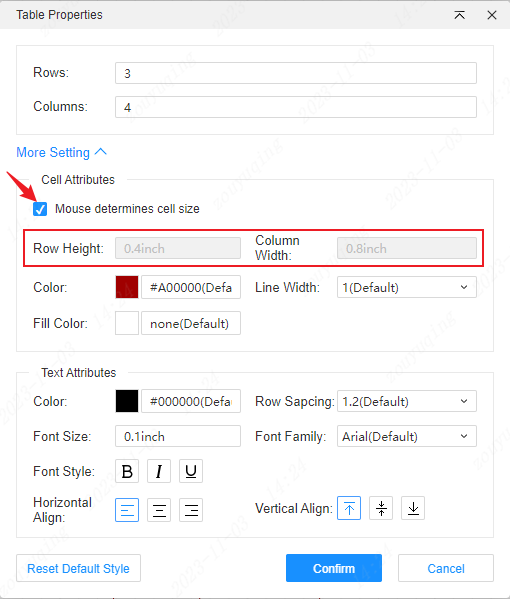
Before drawing the table, the table property setting pop-up window will pop up first, that is, you need to customize some table properties before starting drawing.
- The default number of rows and columns can be seen in the pop-up window. Click the "Confirm" button directly to determine the properties of the table to be created and start drawing.
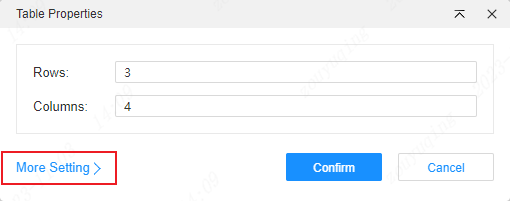
Collapse more table property settings by default, and click the More Settings button in the lower left corner of the pop-up window to expand and view more.
In the collapsed More Table Property Settings, you can customize the cell properties and text properties of the table.
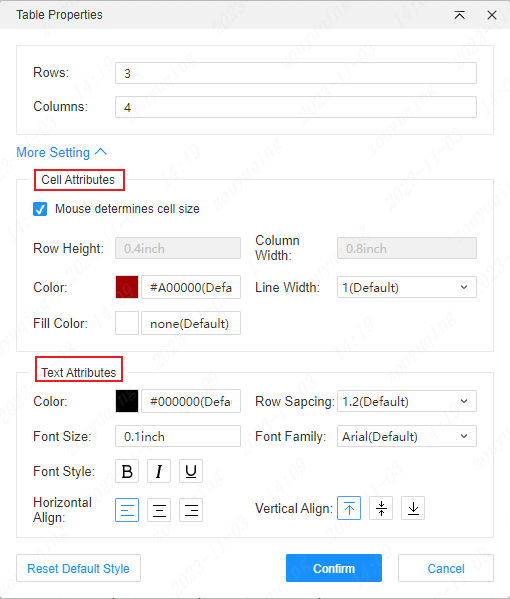
- The cell border color, fill color, and border lineweight all support customization.
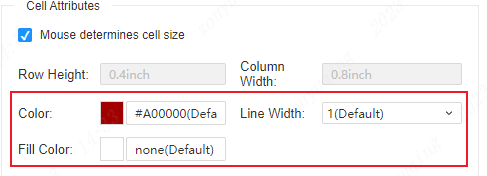
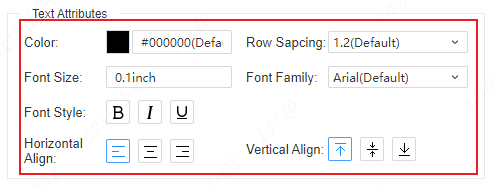
- The color, font size, font, and font style (bold/italic/underline) of the table text all support customization, and line spacing and alignment can also be set.
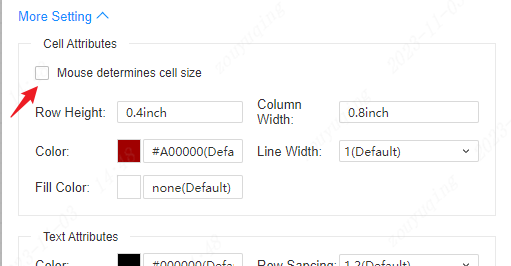
- Default check "Mouse determines cell size", cell line-height, column width is the default value of grey out. That is, after clicking the Confirm button, you can move the mouse on the canvas of the page to determine the width and height of the cells in the table.
- After manually unchecking "Mouse determines cell size", the line-height and column width text box of the cell will be grey out. After customizing the properties, click the Confirm button. A table will be automatically created based on the property setting information in the pop-up window, and the table can be placed directly on the canvas with the left mouse button.
- Expand More Settings pop-up window in the lower left corner also provides a restore default style button, you can quickly reset the table properties to the default configuration.
Note: The number of rows and columns should be at least 1, and the line-height and column width should be at least 0.1inch (2.54mm). Illegal values that do not meet the rules in the numerical input box will be reset to the previous legal old value.
The values in the table property pop-up window will remain the previous settings. After expanding more settings, the next time the table property pop-up window is displayed, it will also be expanded; the same goes for folding operations.
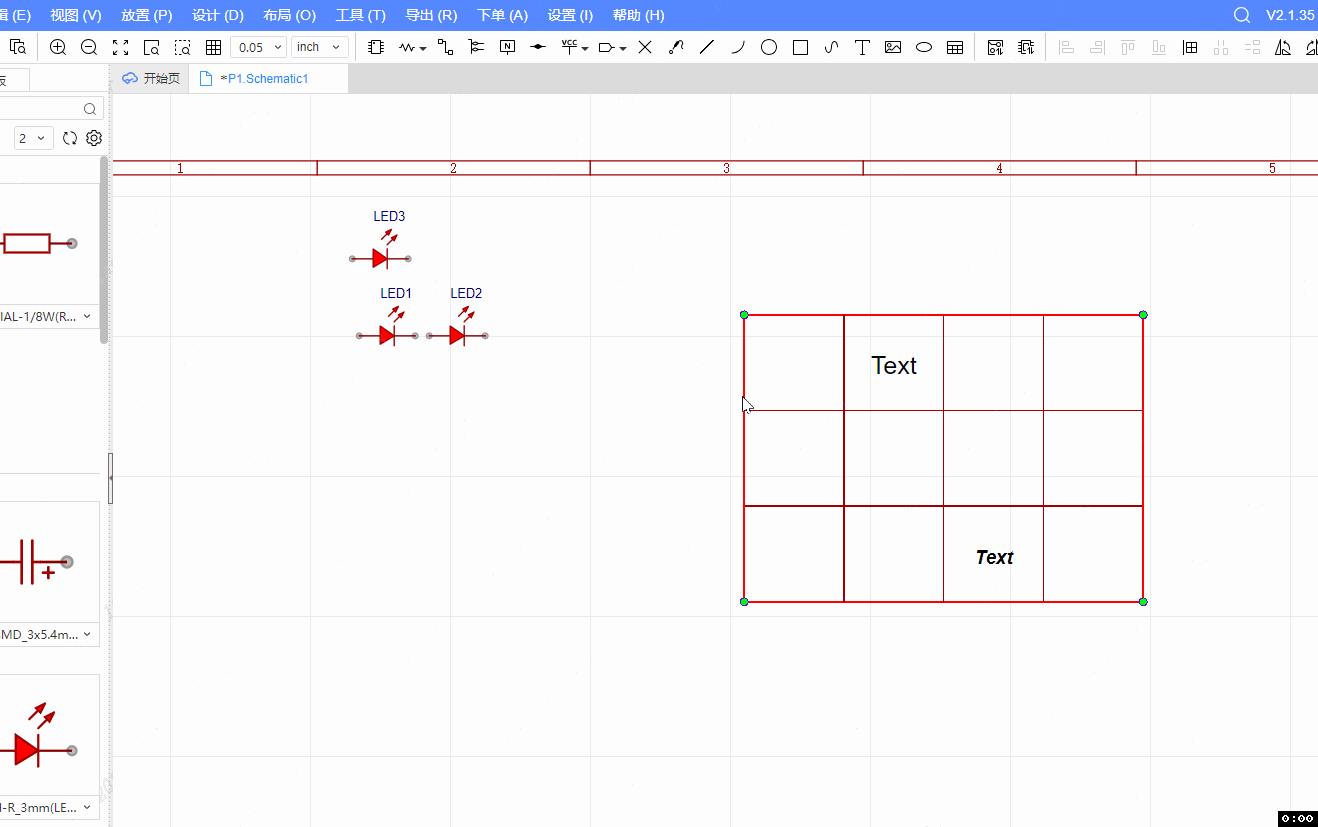
Draw Tables
- Mouse decision (default)
When "Mouse determines cell size" is selected, complete the various customizations in the table property setting pop-up window and click the confirm button, the table icon will be displayed in the upper right corner of the cursor.
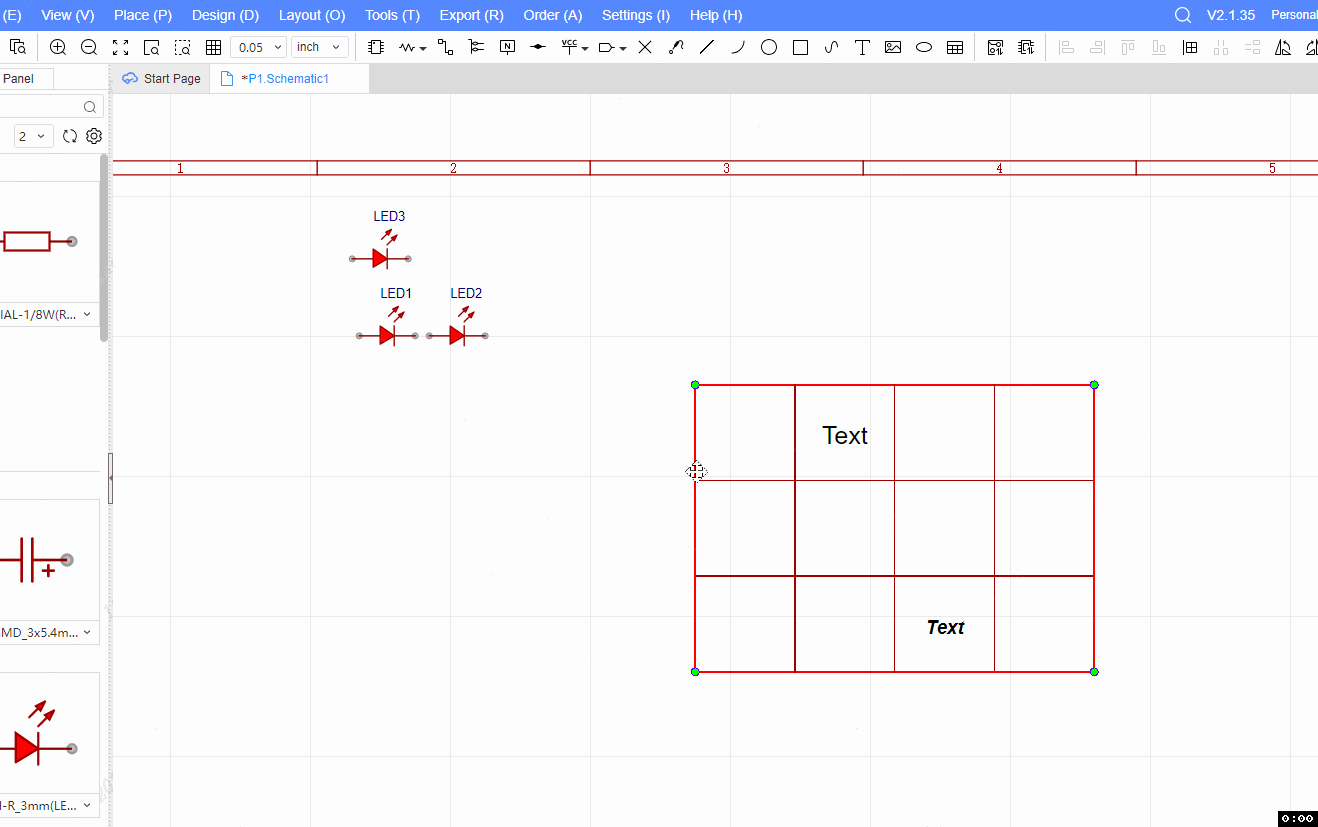
The first left mouse button at any position on the canvas of the image page determines a vertex of the table, moves the cursor, and previews a table with a fixed number of rows and columns. The line-height column width of all cells will change in real time according to the movement of the mouse.
Adjust to the appropriate size, the second left mouse button can determine the final style of the table, complete the drawing of the table, and enter the state of the next table to be drawn (also the mouse determines the cell size).

Note: Before completing the drawing, you can press Tab, and the Table Property Settings pop-up window will pop up again to continue editing the initial creation values of each table.
- Automatically create based on settings
When "Mouse determines cell size" is not selected, complete all customizations in the table property setting pop-up window and click the Confirm button, and a table (automatically created according to the settings in the table property pop-up window) will be displayed directly at the cursor.
Move the cursor, and the left mouse button can place the table in the appropriate position, complete the drawing of the table, and enter the state of the next table to be placed (displaying tables of the same size to follow the cursor).
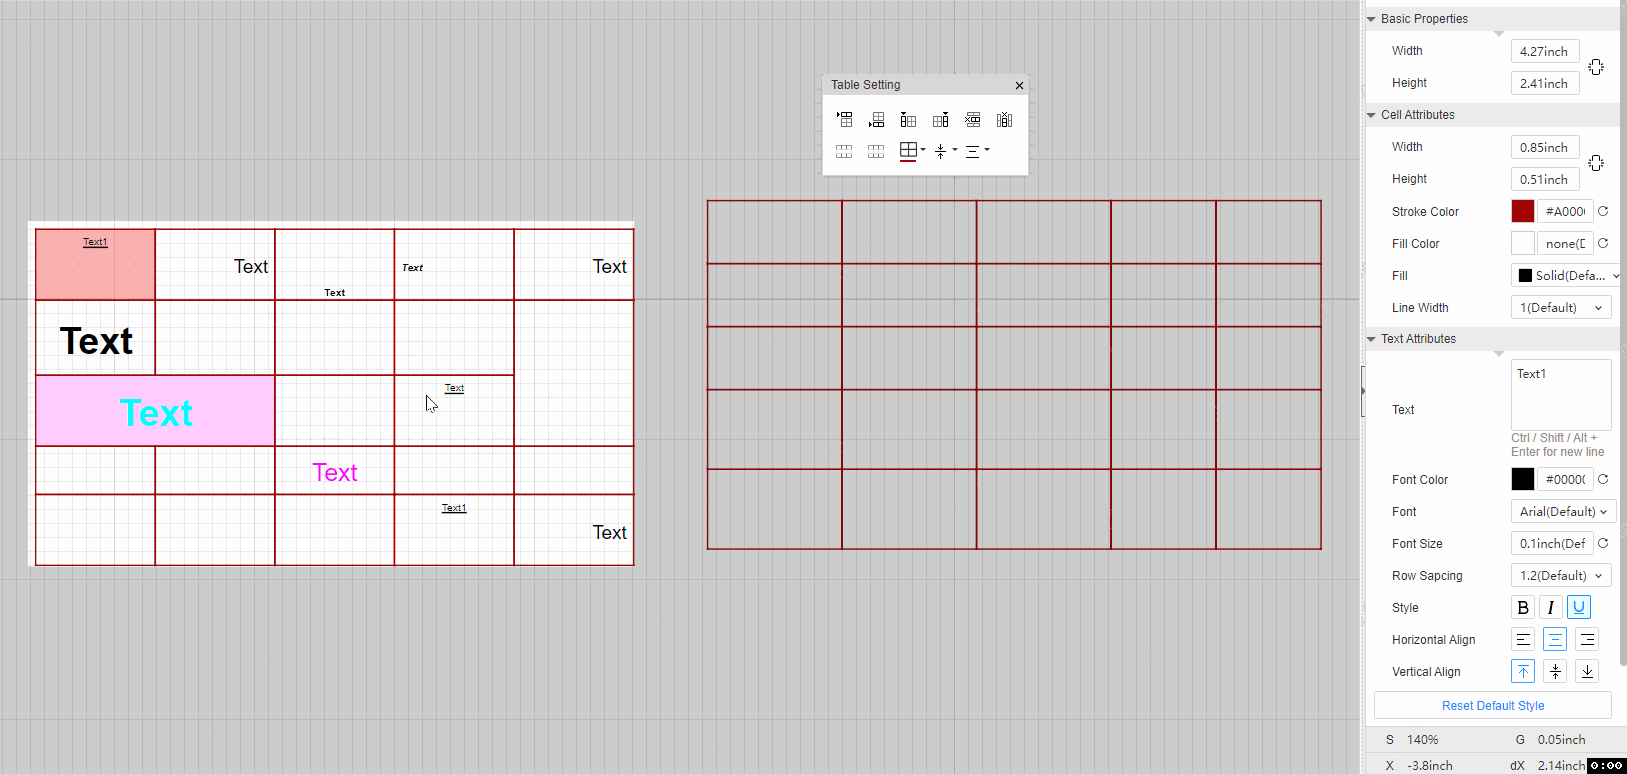
Edit Tble
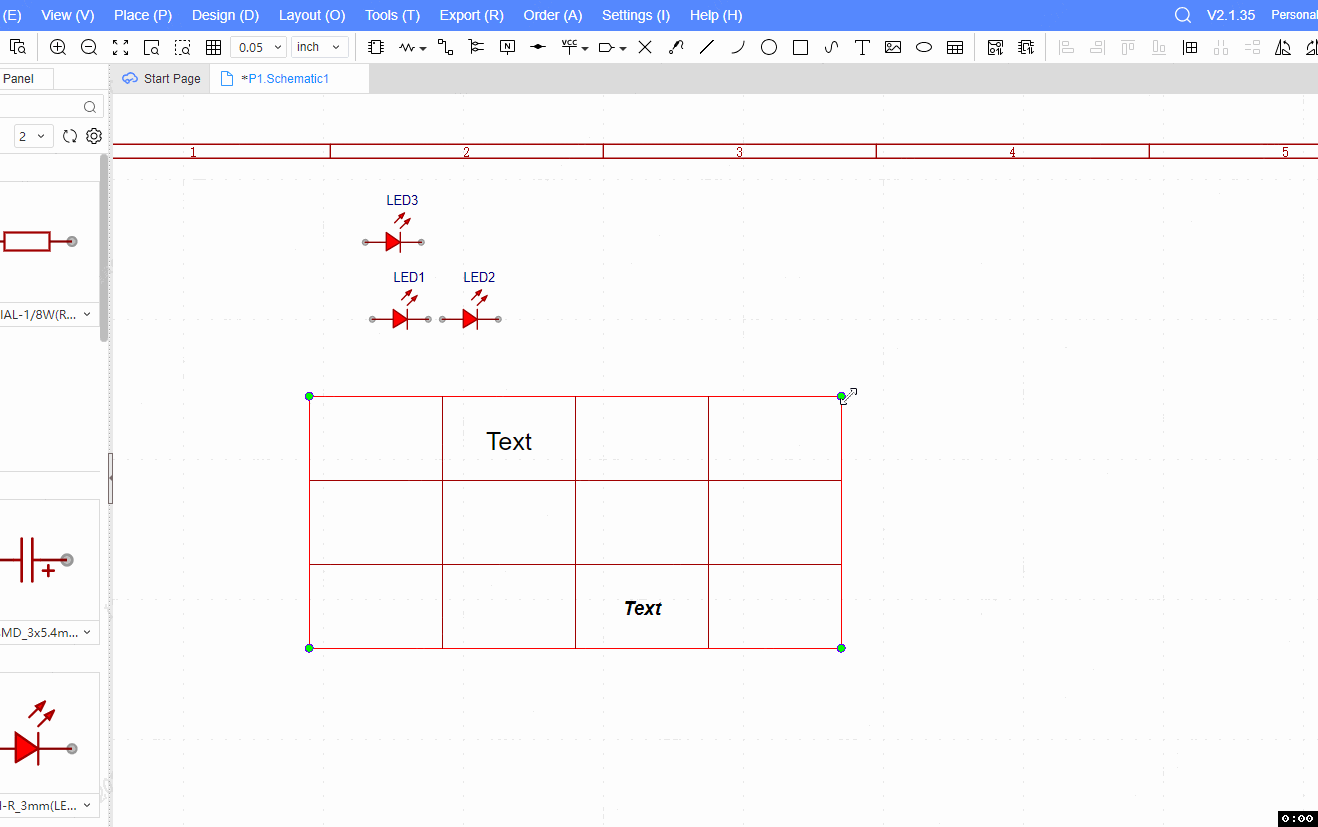
Box selection or clicking on the inner/outer borders of a table can select the entire table. The outer border of the table is highlighted, and a green padding circle is displayed at the 4 vertices.
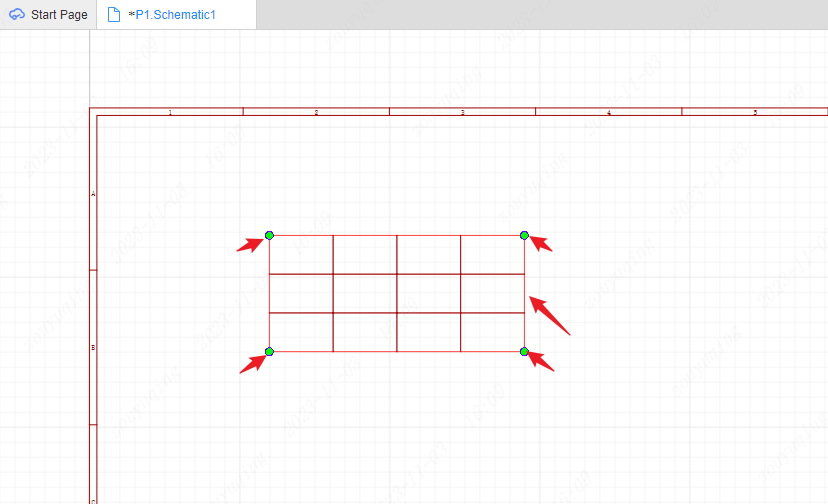
Table Mask
When you directly click to select a cell or double-click to enter the cell text editing, you will enter the mask mode of the table.
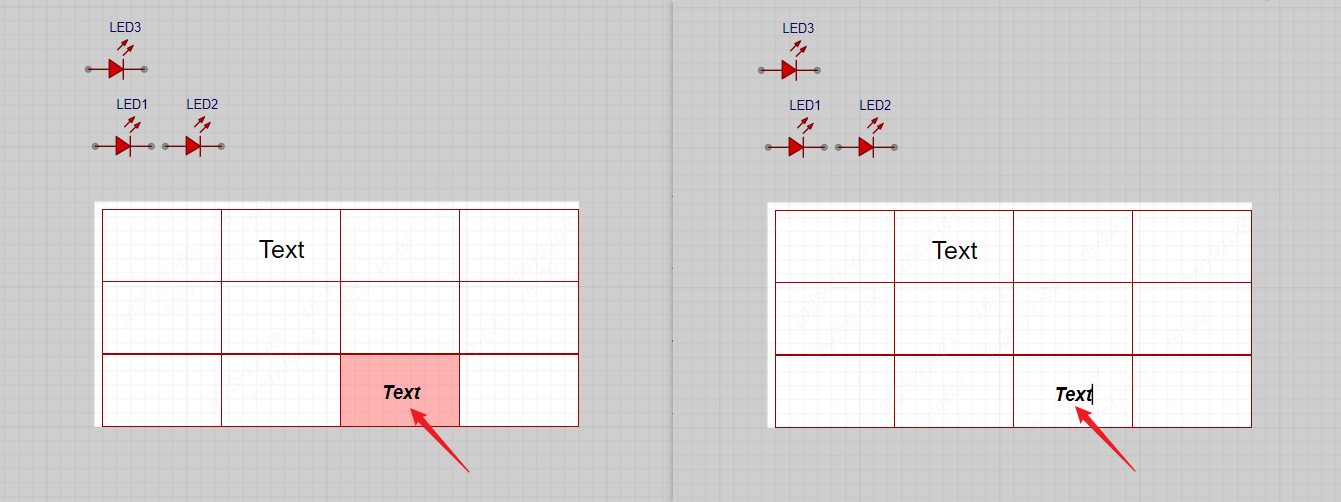
Only the normal brightness display of the table part can be edited, and all other non-table parts show the effect of being covered by transparent gray.
Click the non-table position to exit the mask and uncheck the table. Click the inner/outer border to exit the mask and keep the entire table selected.
- Before Entering the Mask
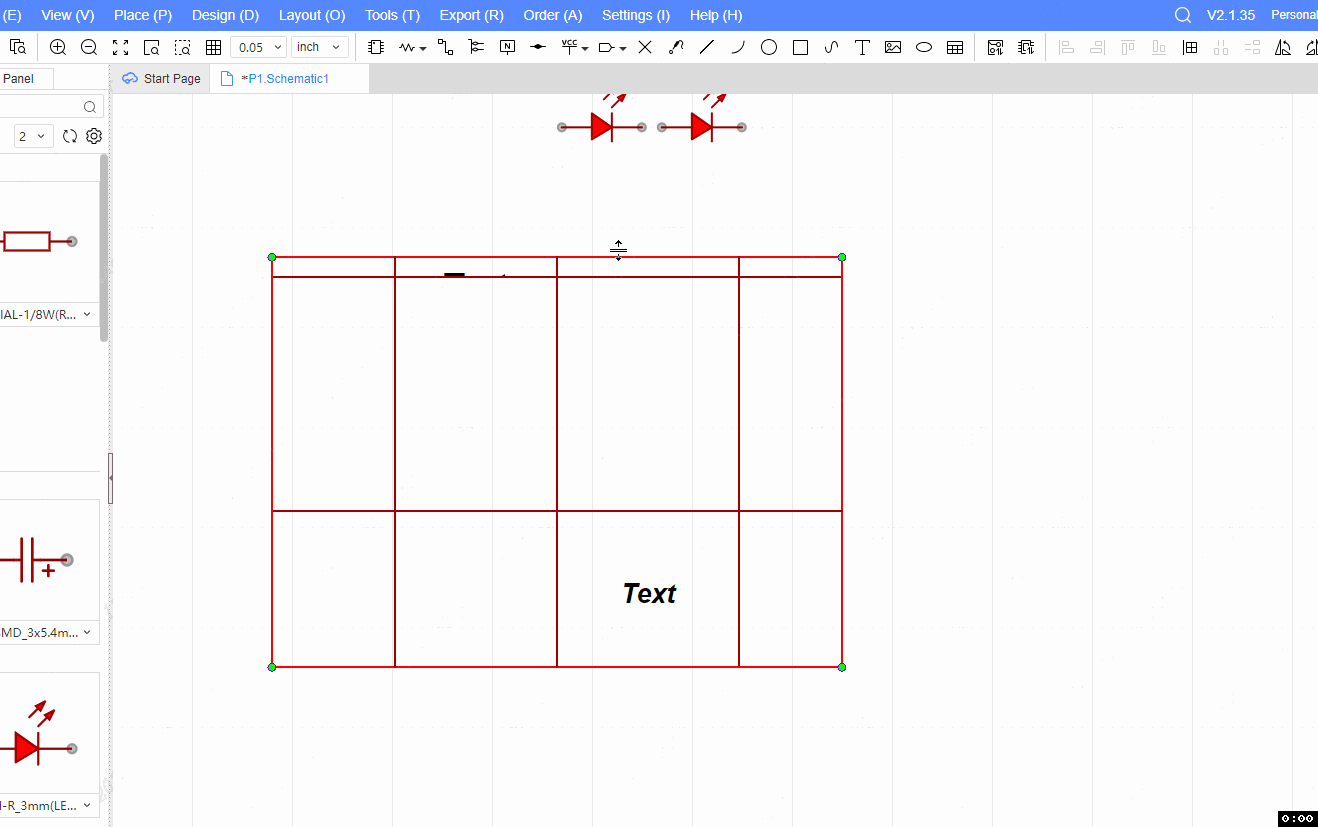
Select the entire table, move the mouse to the vertex position of Table 4, and the cursor changes to the width and height ratio stretch icon style accordingly. Holding down the left button to stretch the table will adjust the width and height values of all cells in the table in batches.
Support pressing Shift to stretch the entire table, which will keep the aspect ratio of cells changing.
After selecting the entire table, the drag ribbon is on the outer border line of the table (excluding the 4 vertex stretch ribbon), and the cursor changes to the "drag icon" style, which can move the entire table.
When the table is not selected, the cursor falls on the table border line/text, or you can directly drag the entire table, and the entire table will be selected after moving.
Move the mouse to the inner border line of the table, and the cursor changes to the style of "up and down/left and right stretch icons". At this time, hold down the left button to drag the corresponding edge to move and change the line-height/column width value of the cell.
Dragging the inner border line will never affect the width and height dimensions of the table (non-pushing method), only the size of the associated row and column cells.

Note: There is a range limit for moving the inner border line left and right/up and down. Always keep it from overlapping with adjacent border lines (ensuring the minimum cell size is 0.1inch). The same goes for moving the inner border line up and down.
- After Entering the Mask
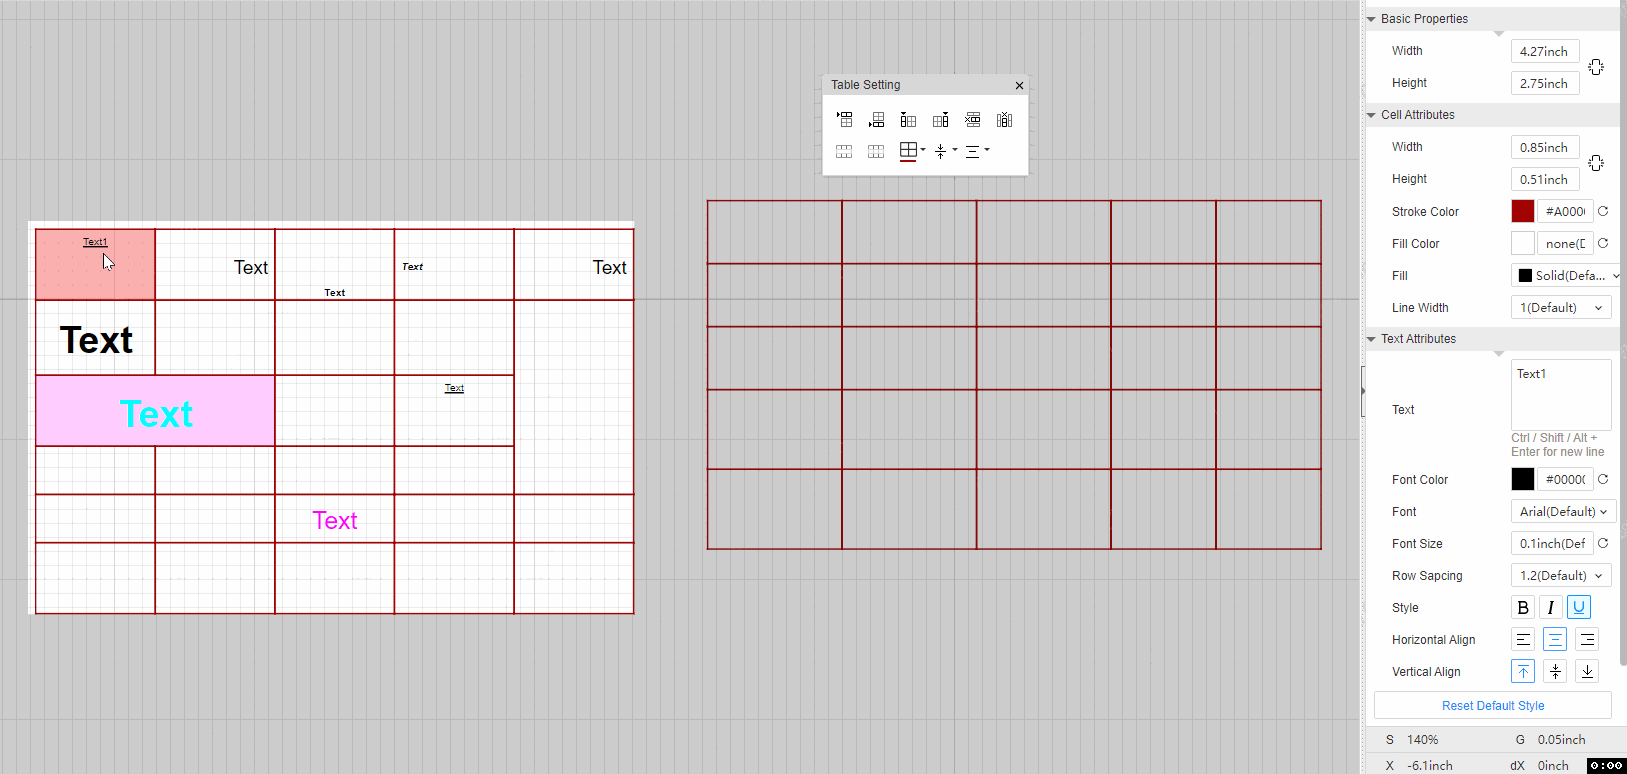
Selection of Cell
As long as you select a cell, you will definitely enter the mask mode of the table.
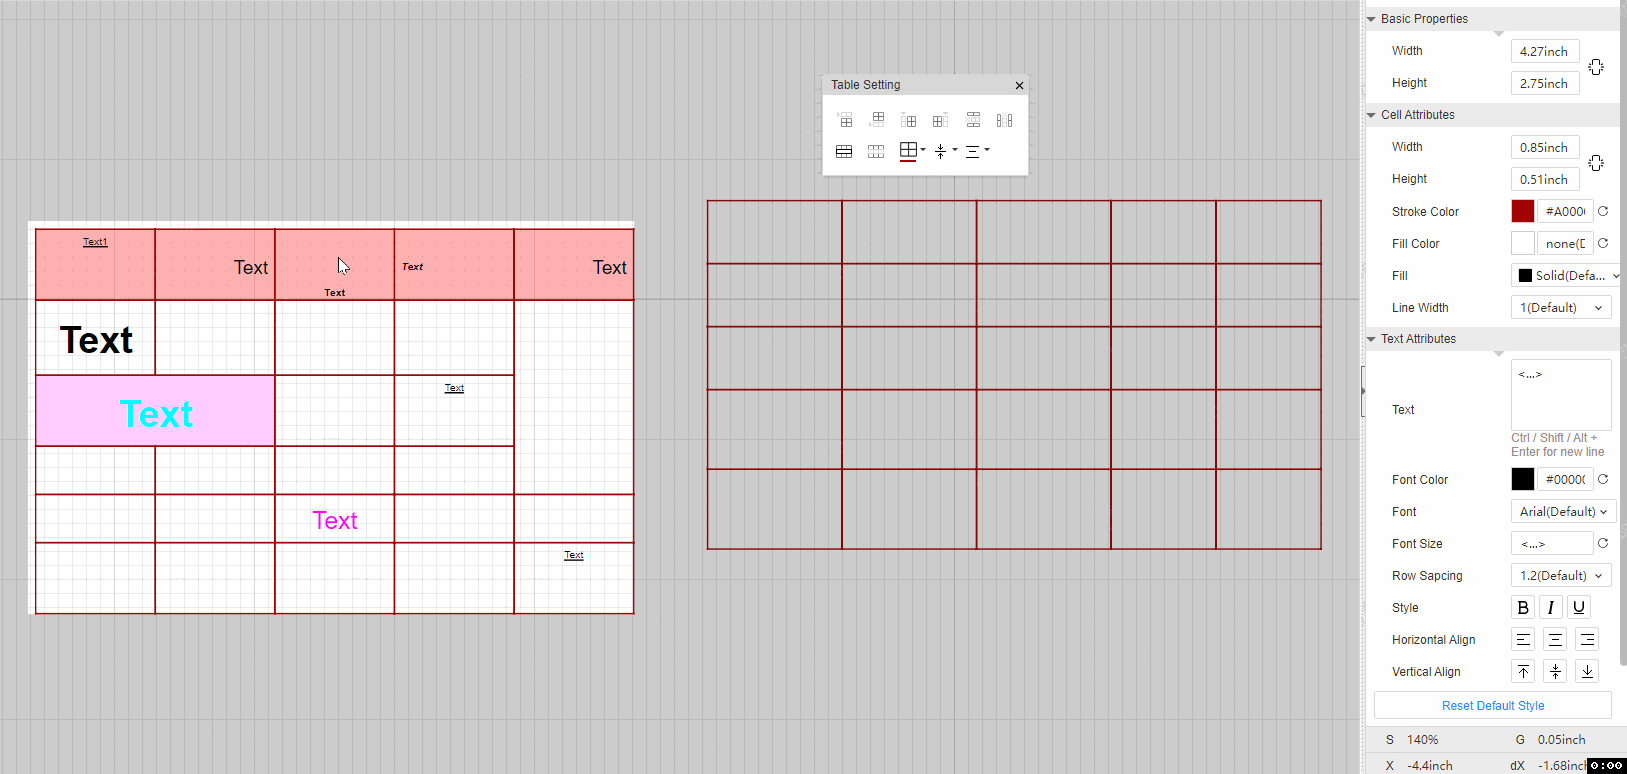
Support holding down the left mouse button to box select multiple cells, also support Ctrl, Shift multi-selection.
Move the mouse to the 5px wide area outside the left/upper side of the table, and the cursor changes to the function icon style of the selected row and column, which is used to indicate the entire row/column cell pointed to in the optional.
Edge Stretching
The outer border line of the table is no longer a drag ribbon, but a stretched edge ribbon. Move the cursor to the line of the inner and outer borders of the table to change the up and down/left and right stretch icon style. At this time, hold down the left button to drag the corresponding edge to move and change the line-height/column width value of the cell (after adjustment, it must be the state of selecting the entire table, not masking).
The interaction rules for stretching the inner border line of the table under the mask are the same as those before entering the mask.
Text Editing
Double-click the cell to enter the text editing state. (When editing table text, it must be in table mask mode)
The width and height of the cell will not be self-adapted according to the text content, but will automatically wrap. If the content is multiple and the cell is small, the display will not be complete. When the cell is expanded by manual stretching, all the text content can be seen.
Note: The size of the table will not change according to the amount of text content, unless manually stretched or modified on the right.
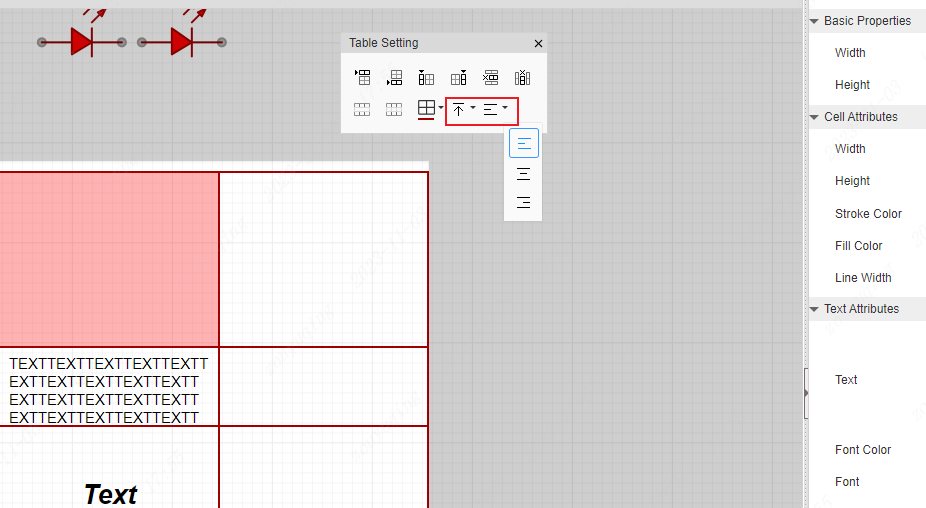
Form Setting Floating Window
After entering the "Mask" of the table (in the state of cell selected/text editing), an independent table setting floating window is provided, which can be freely dragged to adjust the style.
This floating window allows you to add rows and columns, delete rows and columns, merge cells, split cells, set cell border styles, and set text alignment styles for table operations.
Merge Cell:- It will merge multiple selected cells into one, hide the inner border line, and take the value of "top left corner" for the text content. When the properties of cells are not unified, a pop-up prompt will appear: Merge will only retain the properties of the upper-left cell. Confirm to merge? (left takes precedence over top)
Split Cell:Only one cell selected is the "merge cells" operation, the icon of "split cells" is displayed normally, otherwise grey out.
Table Border Setting:- directly click the border icon in the floating window, and it will be set according to the border type and border color selected last time (initial default: full border, #A00000 theme color) The icon contains 1 color block, which is used to display the current default border color and keep following the previous setting. You can select a specific border type and set a specific border color by pulling the box.
Text Alignment:You can set horizontal and vertical text alignment.
Note: The selected objects are different, and the operable items in the floating window are inconsistent. Support will display normally, and grey out is not supported.
Right-Click Menu
Table Right-Click Menu
After selecting the entire table, right-click the menu operation to adapt to the selection, it will zoom and move the canvas to place the table in the center of the canvas for display. You can also cut, copy, paste, delete and other operations on the table. Tables can also be added to the combination. 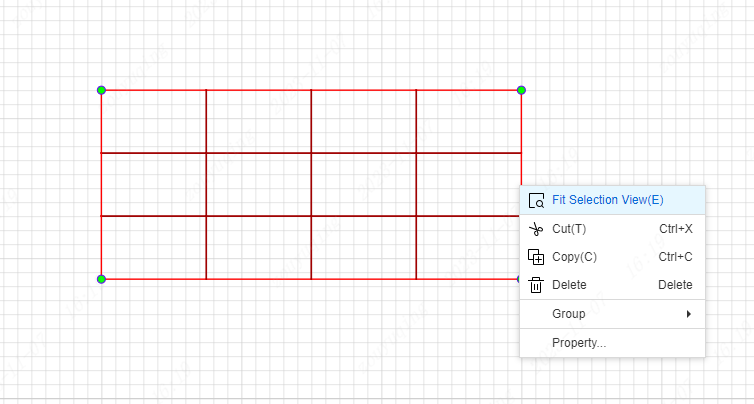
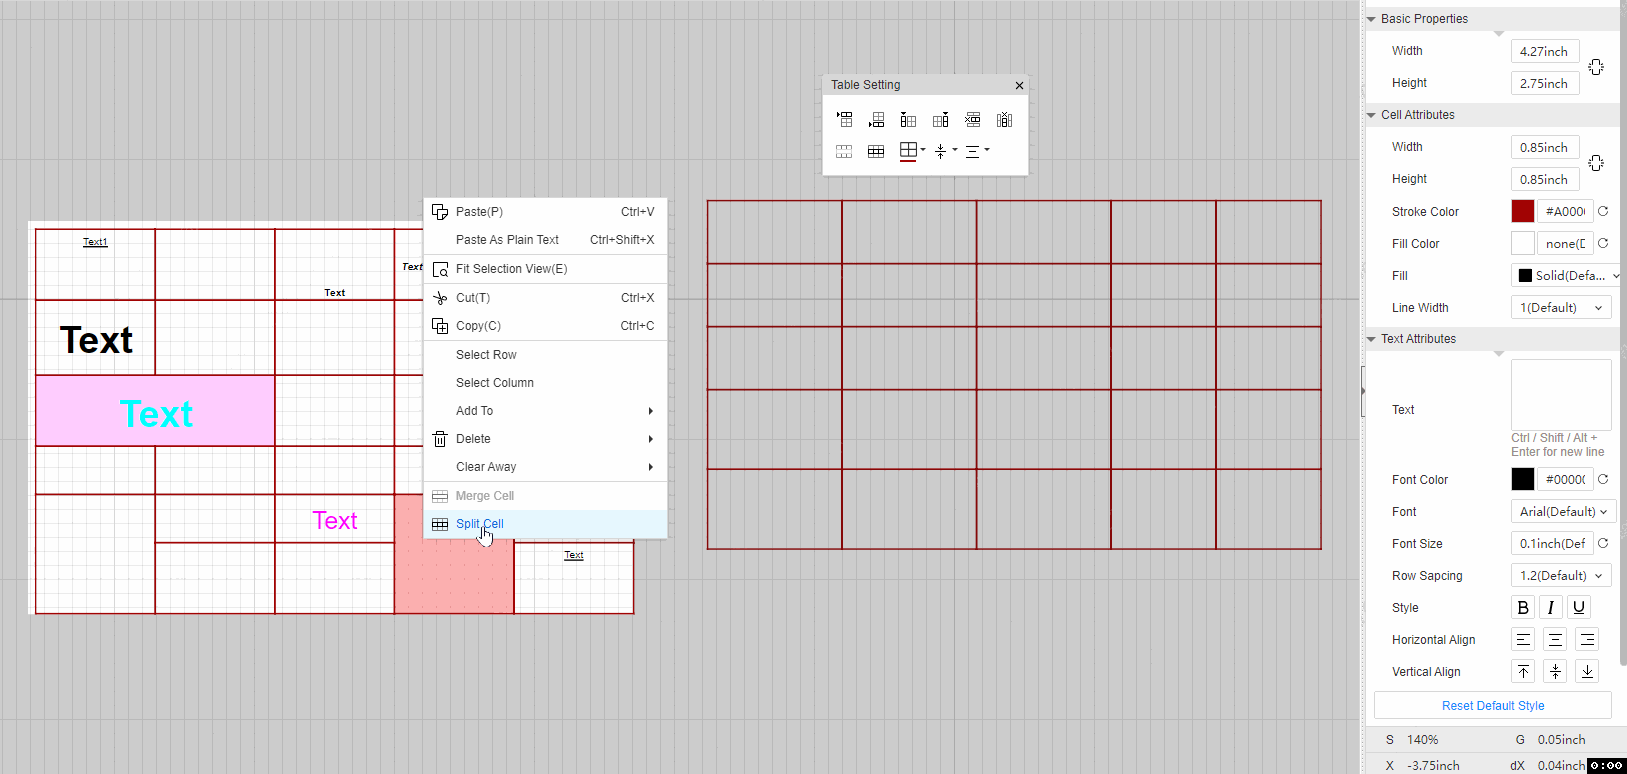
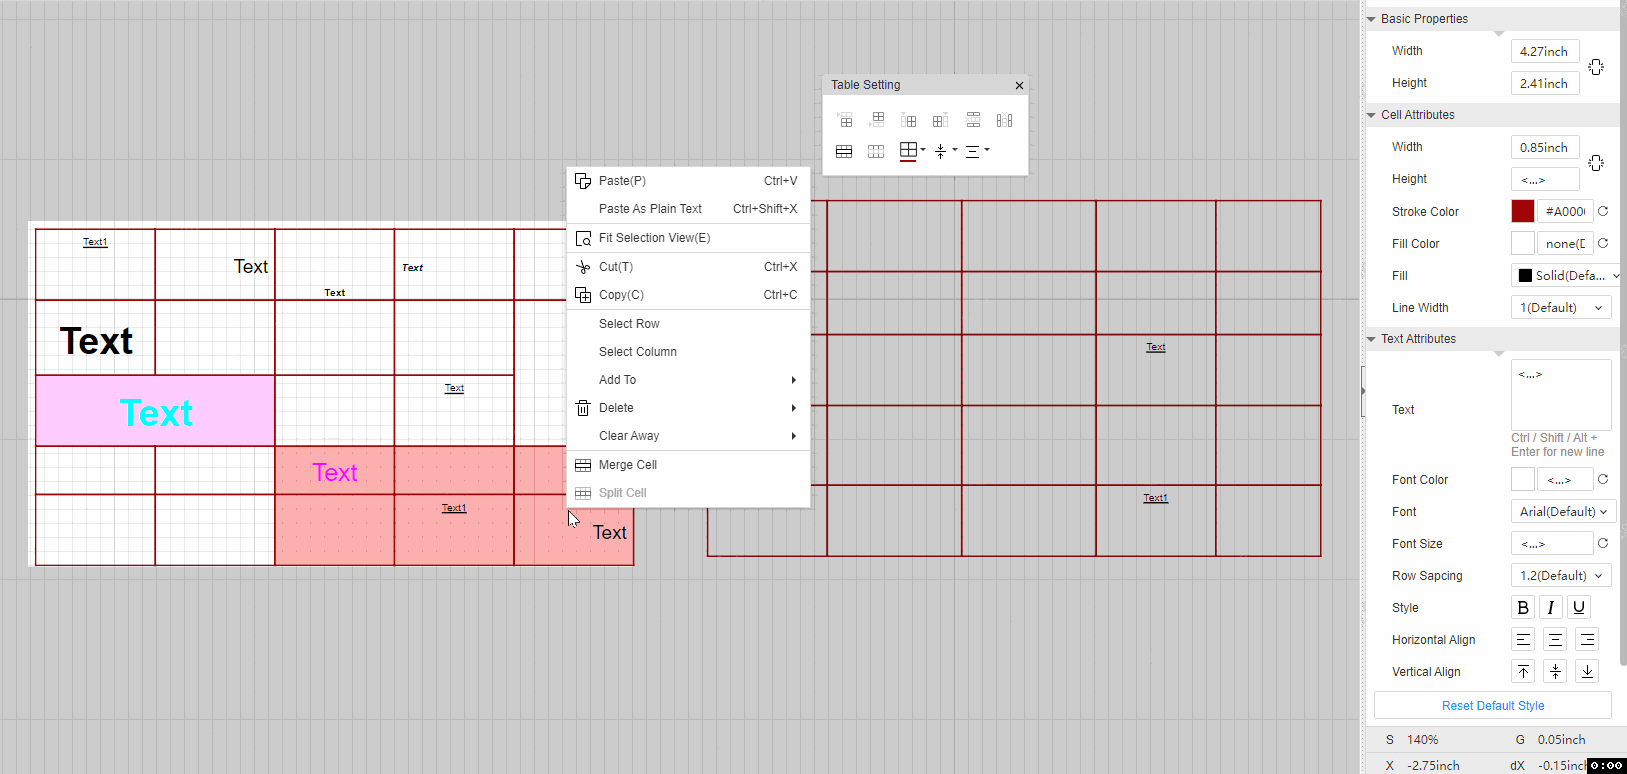
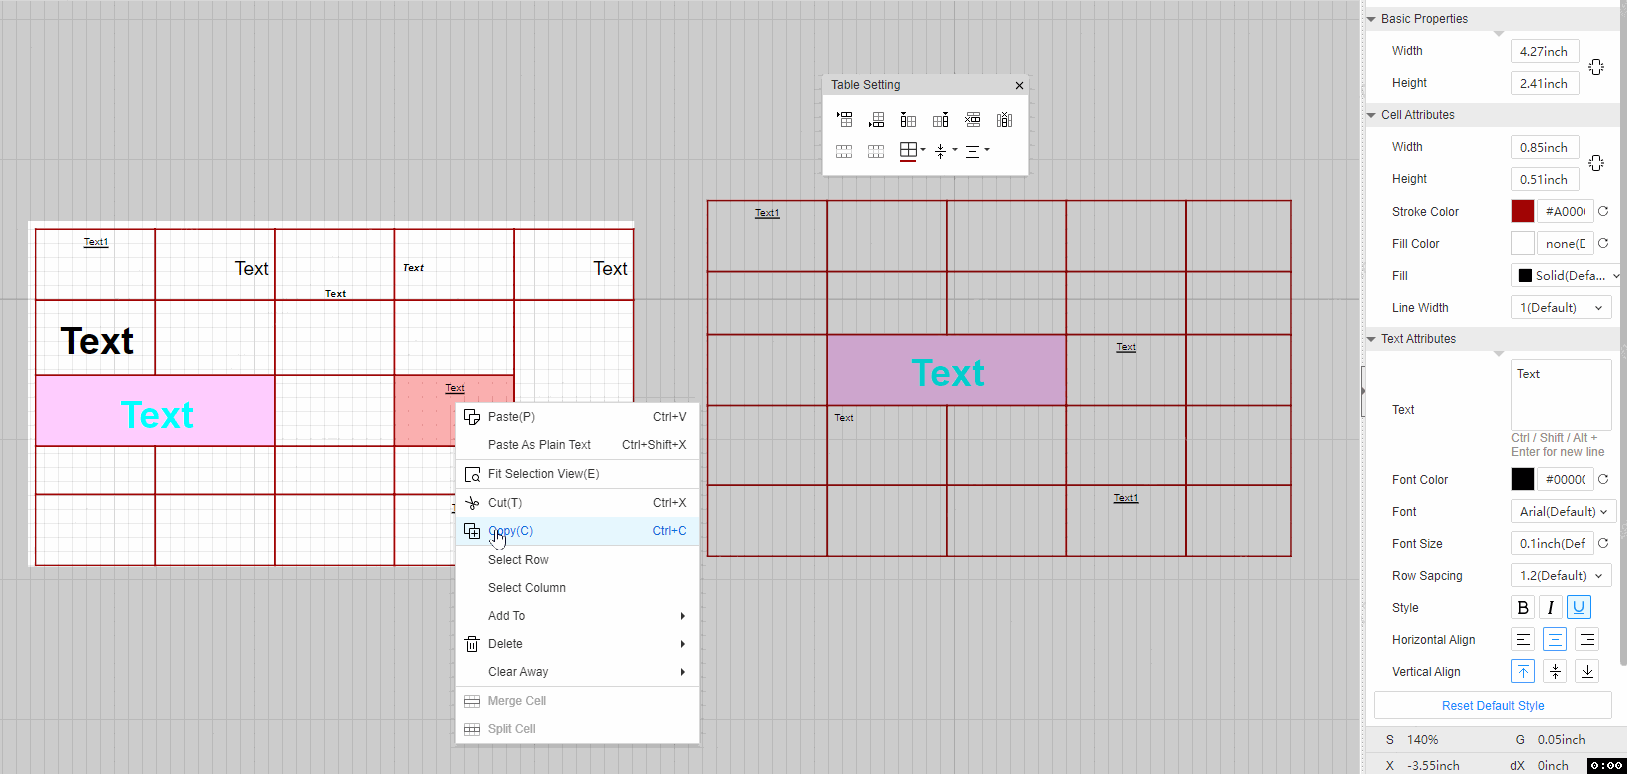
Cell Right-Click Menu
When selecting a cell, you must go under the corresponding table mask.
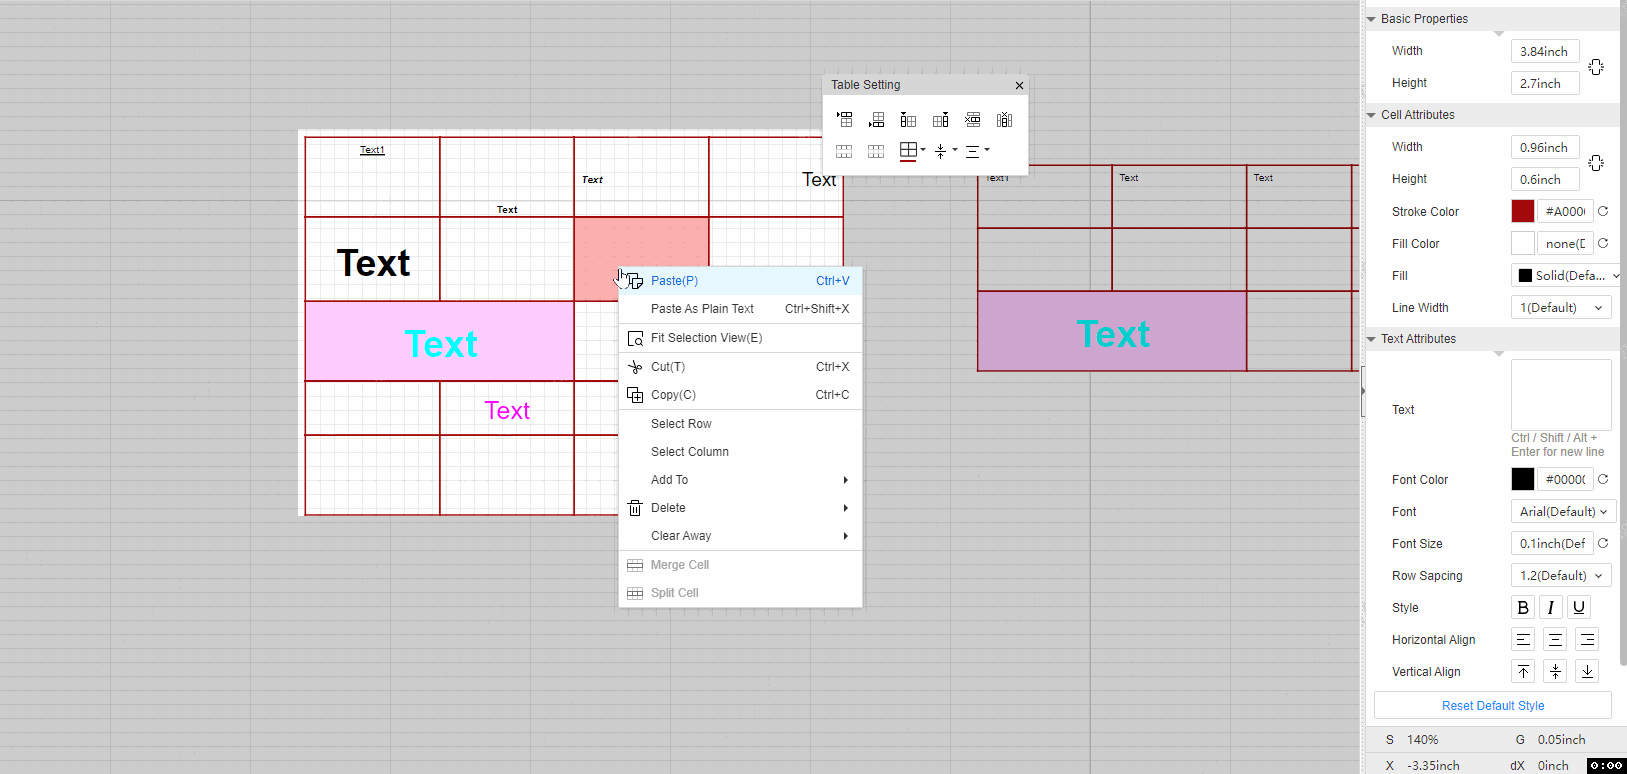
- Paste:It will paste the text content, text format, and unit format on the clipboard into the selected cell. (Each selected cell will be updated with the content and format on the clipboard.)
- Paste As Plain Text: Only the text content from the clipboard is pasted into the selected cells.
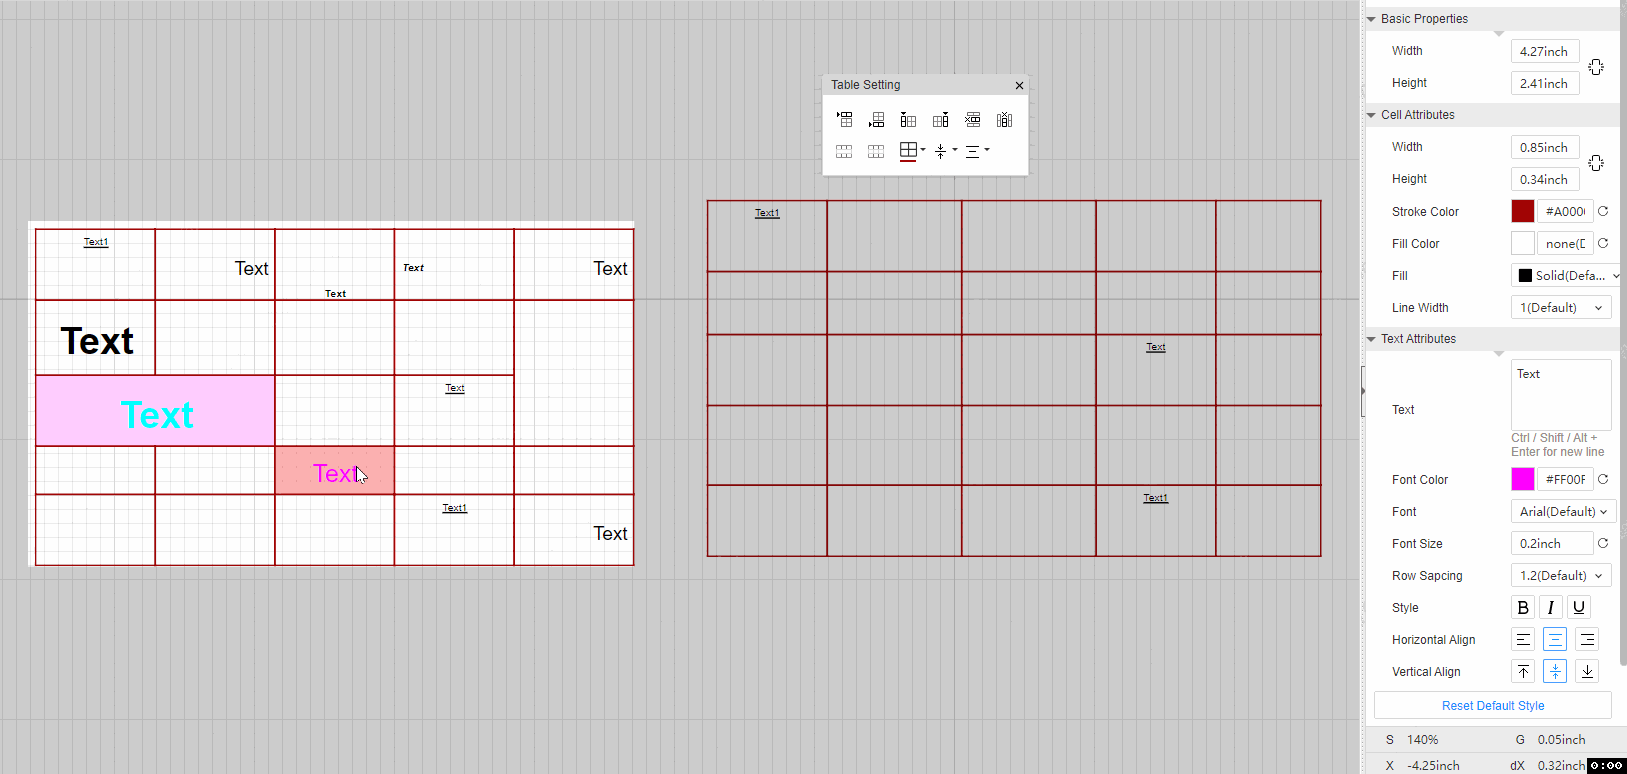
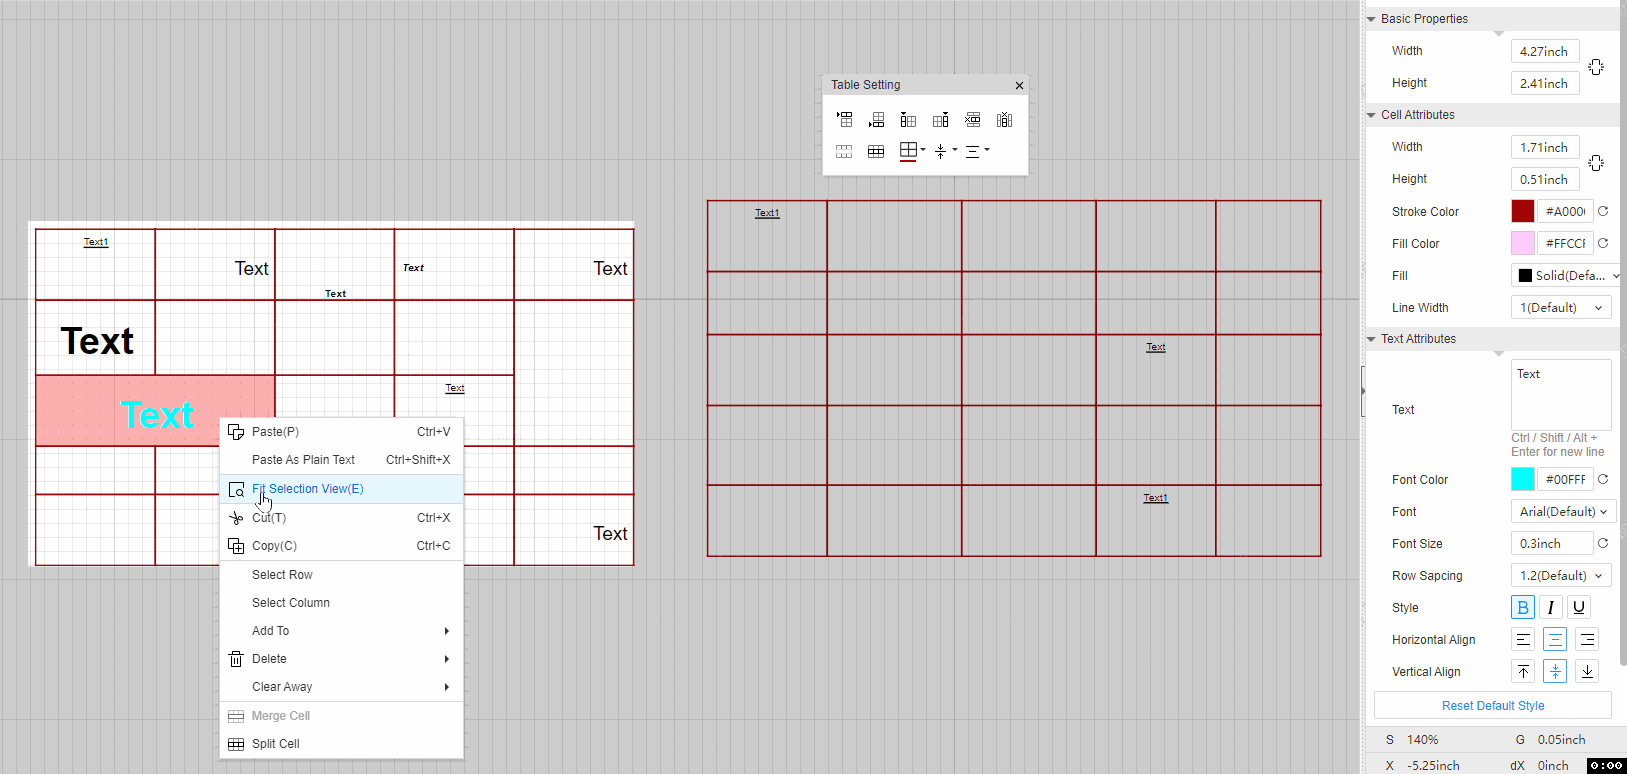
- Fit Selection View: Centers the selected cells to fill the entire canvas.

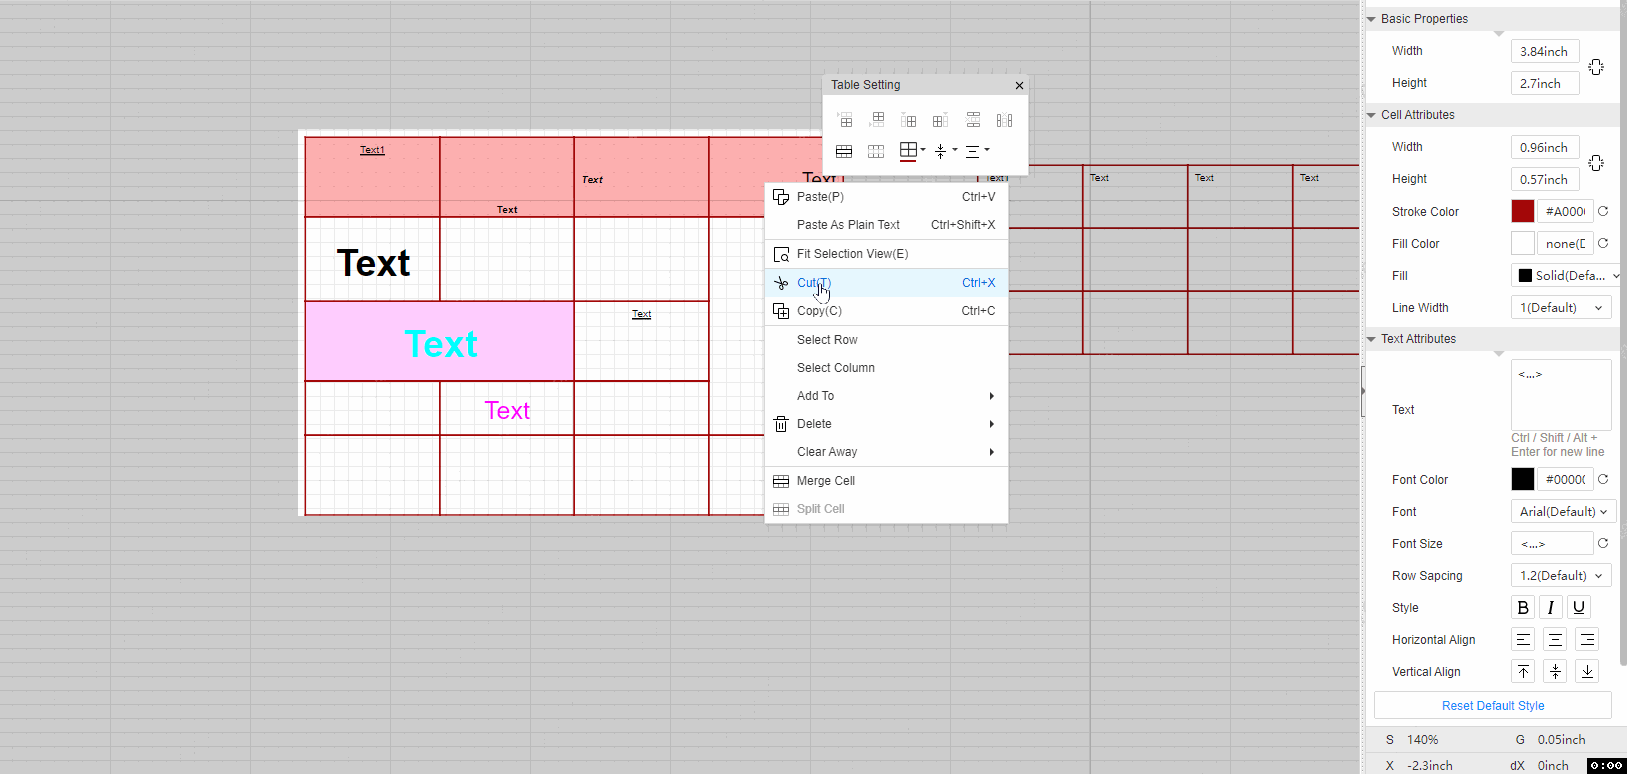
- Cut: The content and style of the selected cell will be cleared to restore the default, and the clipboard will be updated to the content style of the selected cell.

- Copy:The content and style of the selected cell are kept, and the clipboard is updated to the content style of the selected cell.
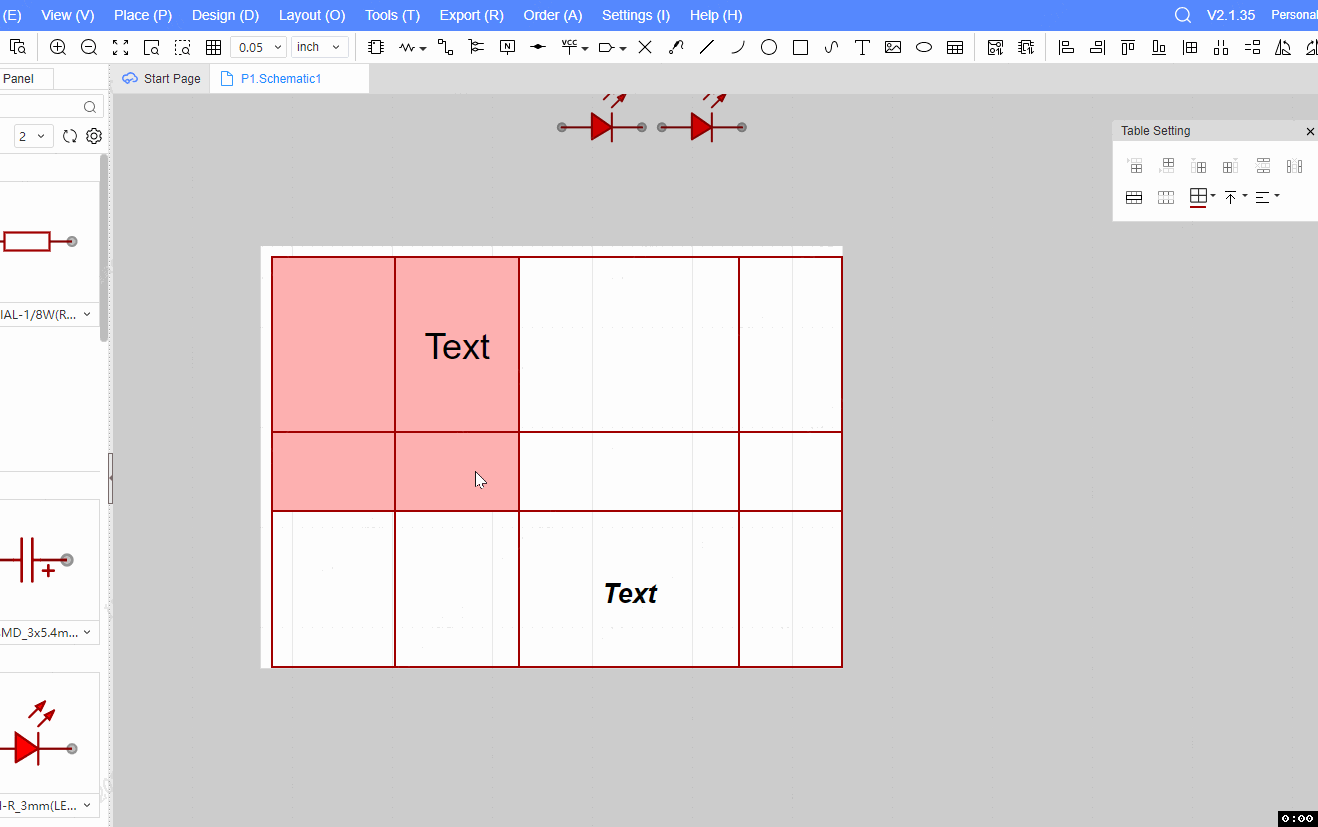
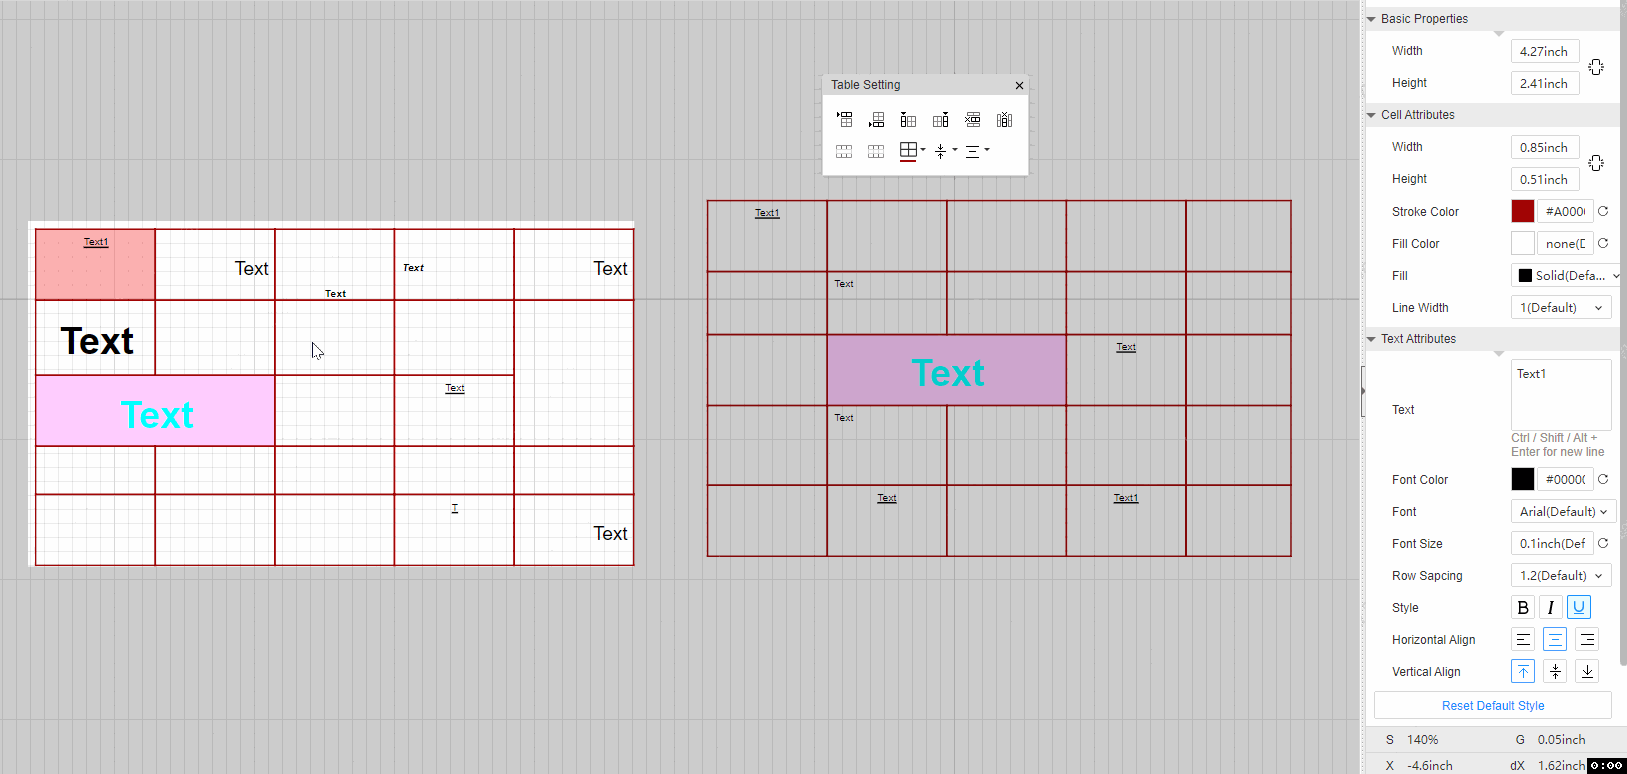
- Select Row:select the row where the selected cell is located (select multiple cells located in different rows, and only the row where the cell at the right-click focus is located will be selected)

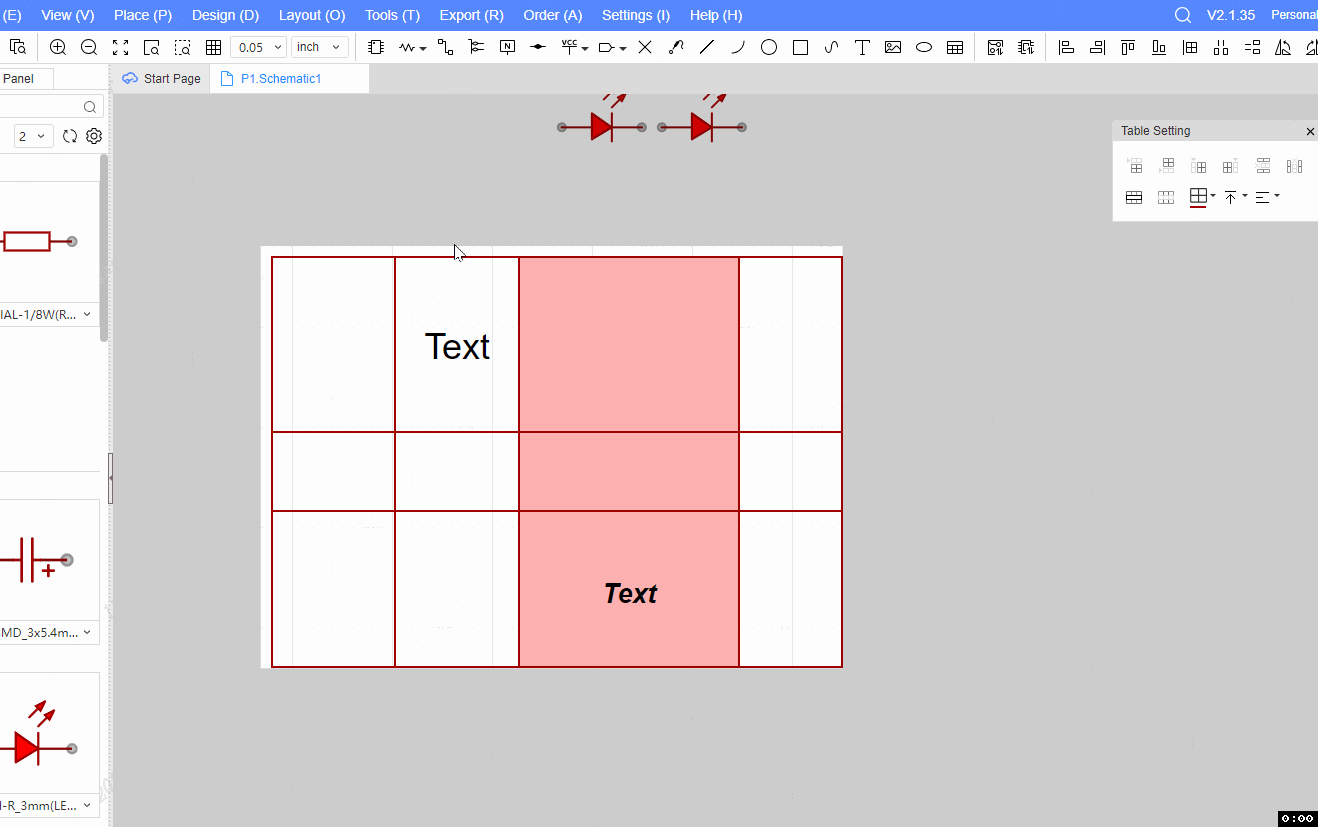
- Select Column:Select the column where the selected cell is located (select multiple cells located in different columns, and only the column where the cell at the right-click focus is located will be selected)
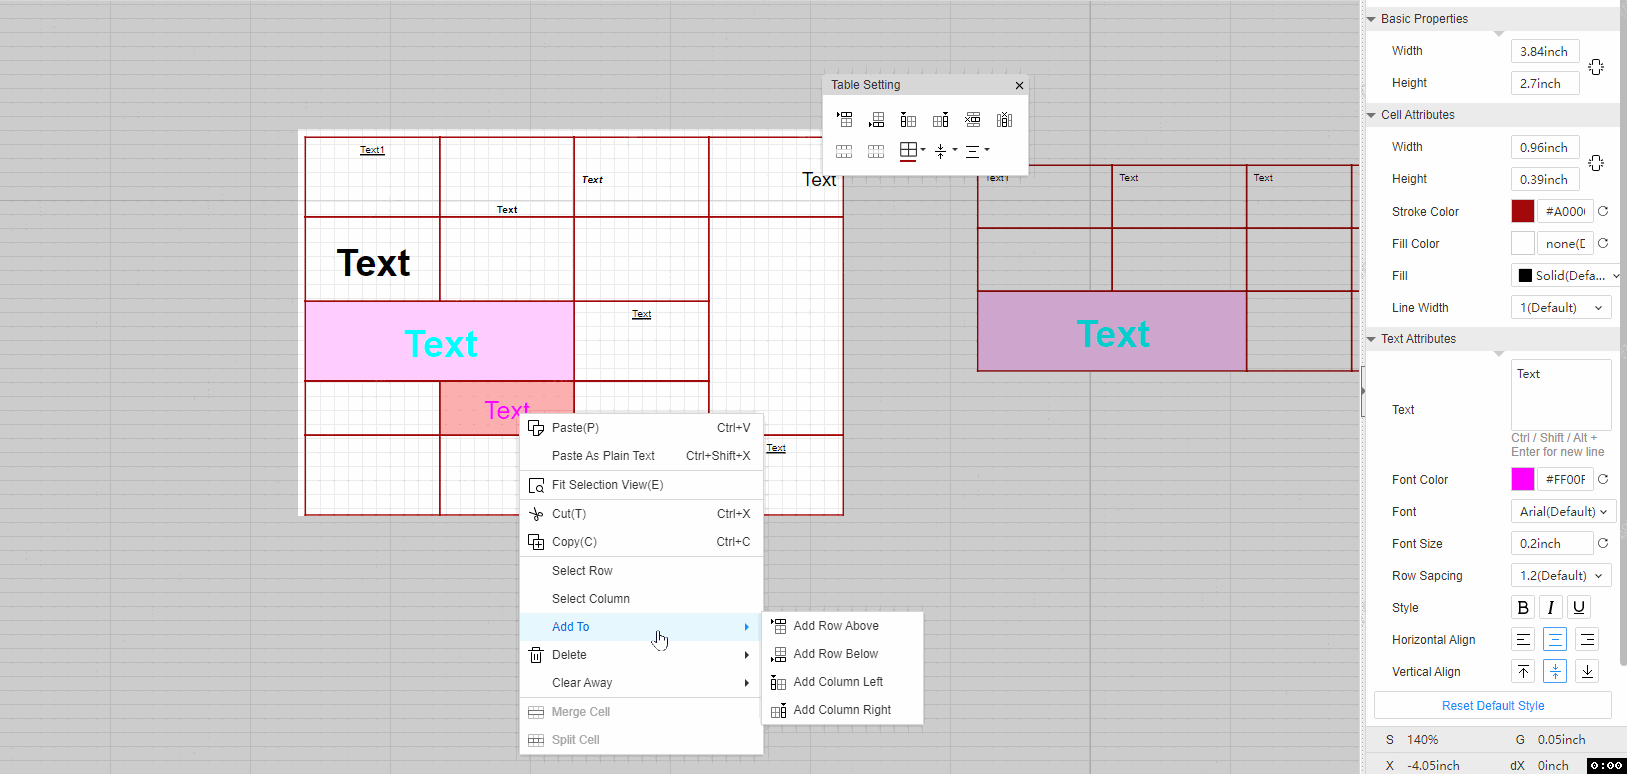
- Add To:You can add rows or columns to the top/bottom or left/right of the selected cell. (Only add one row to the top/bottom of the rectangle to which the selected range belongs, or add one column to the left/right)
- Delete:You can delete all cells in the row or column where the selected cell is located. (Selecting multiple cells located in multiple rows or columns will delete cells in multiple rows or columns)

- Clear Away: You can clear only the text content of the selected cells, you can also clear only the text and cell format of the selected cells, you can also clear the text content, text format and cell format of the selected cells.


- Merge Cell:Merge multiple selected cells into one cell. (This menu item can only be operated if the selected range forms a rectangle and is not a merged cell)
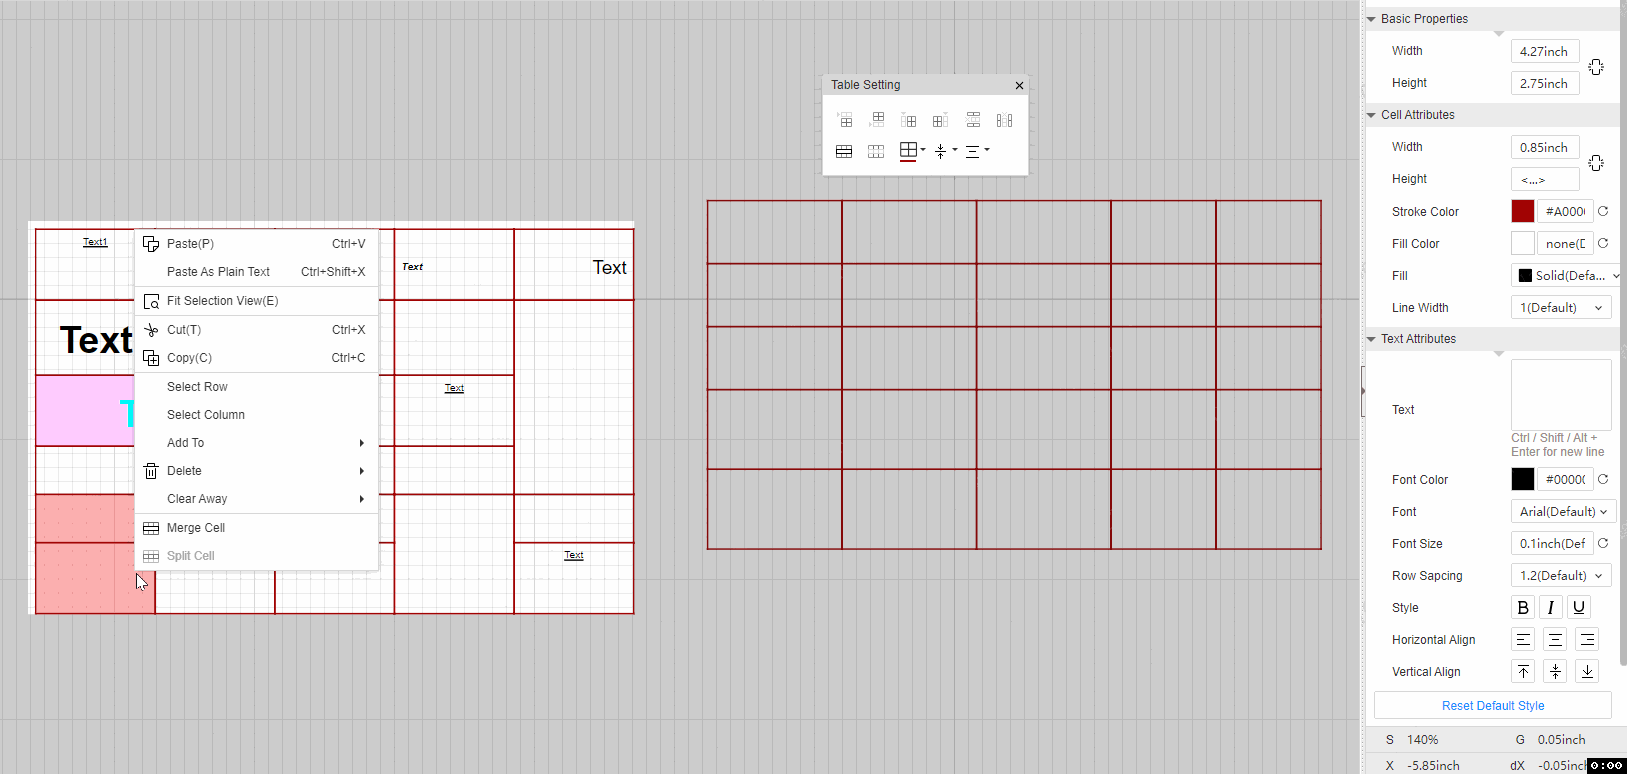
- Split Cell:Split all merged cells in the selected cells. (When select Do not contain merged cells, grey out and do not support the operation of this menu item)
Rules Supplement
- After copying multiple cells and pasting them into a merged cell, the merged cells that are pasted will automatically split into cells, maintaining the number of cells and content style before copying.
- When there is a lot of pasted content but not enough pasted space, a short prompt in the center of the canvas will appear: Some of the content has been cropped and pasted successfully!
- Select multiple non-contiguous cells at the same time to cut/copy, and only the corresponding cells of the selected part will be pasted.
- When the target paste area does not fully contain merged cells, a short prompt in the center of the canvas: Paste failed, there is a conflict between the target paste area and the merged cell area! (Paste is supported when the target paste area fully contains merged cells.)
- Support Delete key to clear the text content of the selected cell, support Delete key to delete the selected text content.

- Support Backspace key to clear the text content of the cell; in the text box, you can delete the text in front of the cursor.
Cell Text Right-Click Menu
The text right-click menu of the table is consistent with that of the browser.
Cut/copy the cells of the table, enter the text editing mode of the cell, and paste, only the text content will be pasted.
Enter the text editing mode of the cell to cut/copy the text, and then paste it on the cell of the table, and the contents of the cell copied last time will be pasted.
Arrow Key and Toggle Selection
Up, Down, Left, Right Arrow Key
When selecting a single cell, you can operate the up/down/left/right arrow keys on the keyboard to switch the selection of the cell.
When a single cell at the outermost corner of the table has been selected, and continuing to press the arrow keys fails to switch the selected cell as expected, the cell will remain selected.
When multiple cells are selected by clicking at the same time, if there is a focus, the focus will prevail, and the last selected cell will be used as a reference for switching selection.
When multiple cells are directly selected in the box, if there is no focus, the lower right cell will be used as a reference for switching selection.
Switch Selected -Enter Key, Tab Key, F2 Key
- - Enter key
When a single cell is selected, press Enter to enter the text editing state of the focus cell.
In cell text editing mode, pressing Enter will exit text editing and switch the cell in the same column as the next row selected vertically.
The selected cell is located in the last row, and pressing Enter multiple times will only cycle between "Enter Cell Text Editing" and "Selected Cell".
When clicking to select multiple cells or when selecting multiple cells in a box, press Enter to switch the selected reference object. The same rule as the arrow keys.
- Tab Key
Press the Tab button to horizontally switch the cells in the same row as the selected right column.
When the selected cell is in the last column, pressing Tab will switch to select the first cell in the next row (when selecting the cell at the bottom right of the table, continuing to press Tab will switch to select the cell at the top left of the cell).
- F2 Key
Select the cell and press F2 to enter the text editing state of the focus cell.
When clicking to select multiple cells, pressing F2 will enter the text editing mode of the focus cell; when multiple cells are selected in a box, pressing F2 will enter the text editing mode of the lower right cell.
Key Esc
In table mask mode, pressing Esc when a cell is selected will exit the mask and keep the entire table selected.
In the cell text editing mode, pressing Esc exits the editing mode and keeps the cell selected, without directly exiting the table mask.
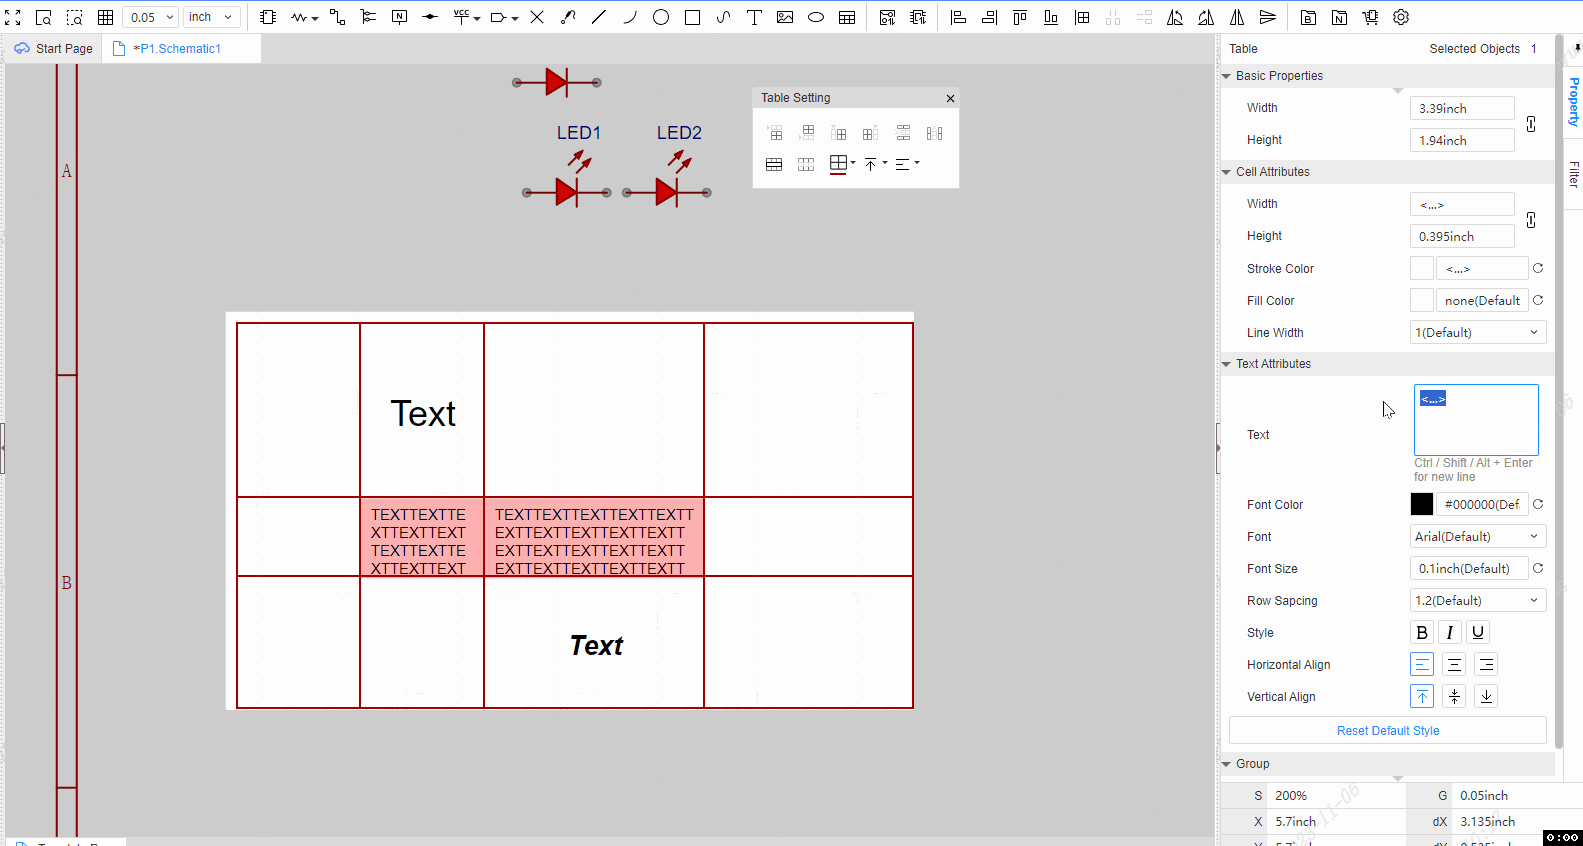
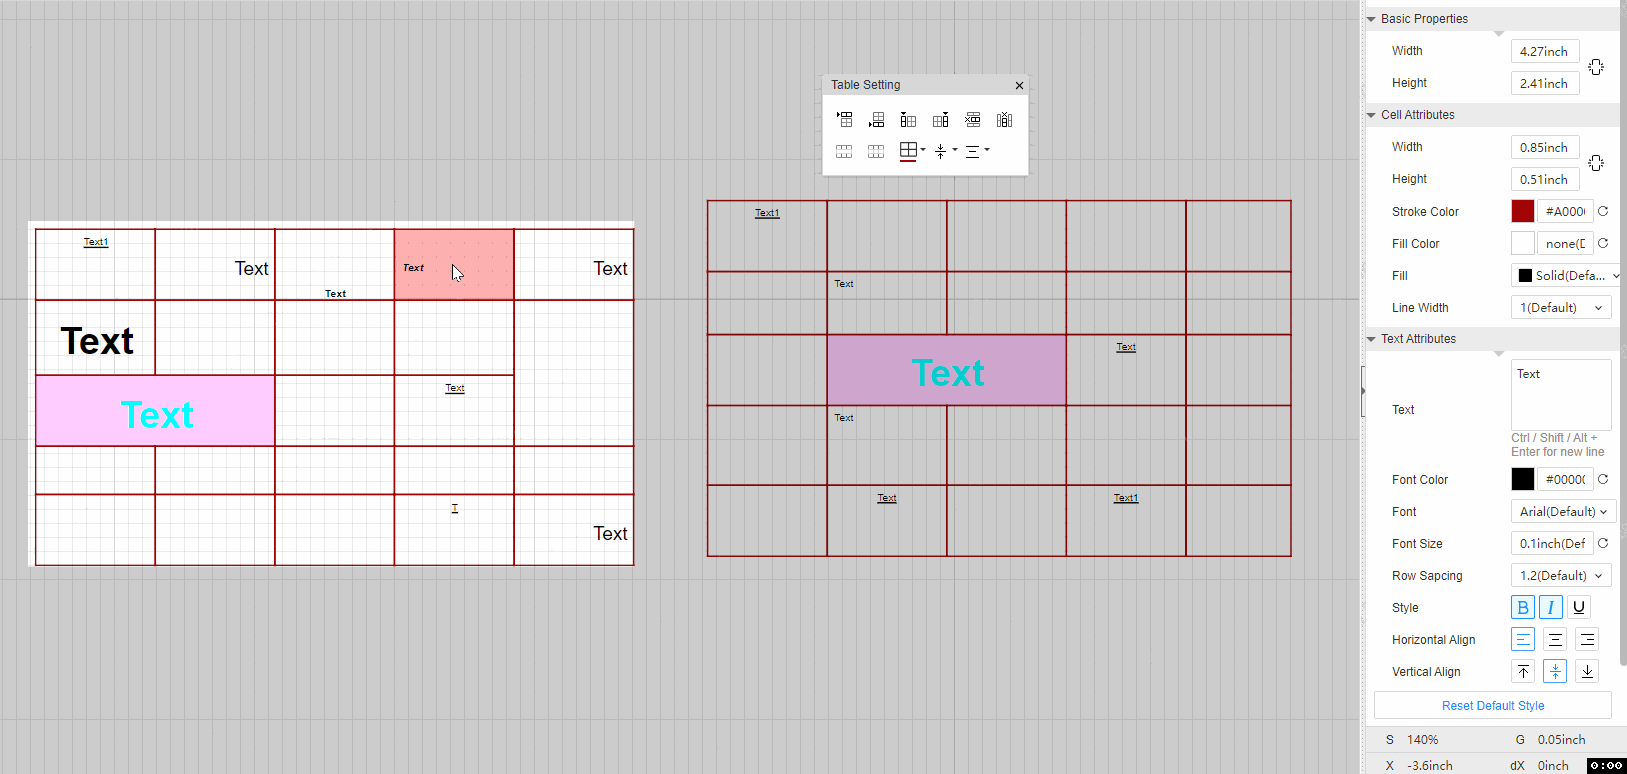
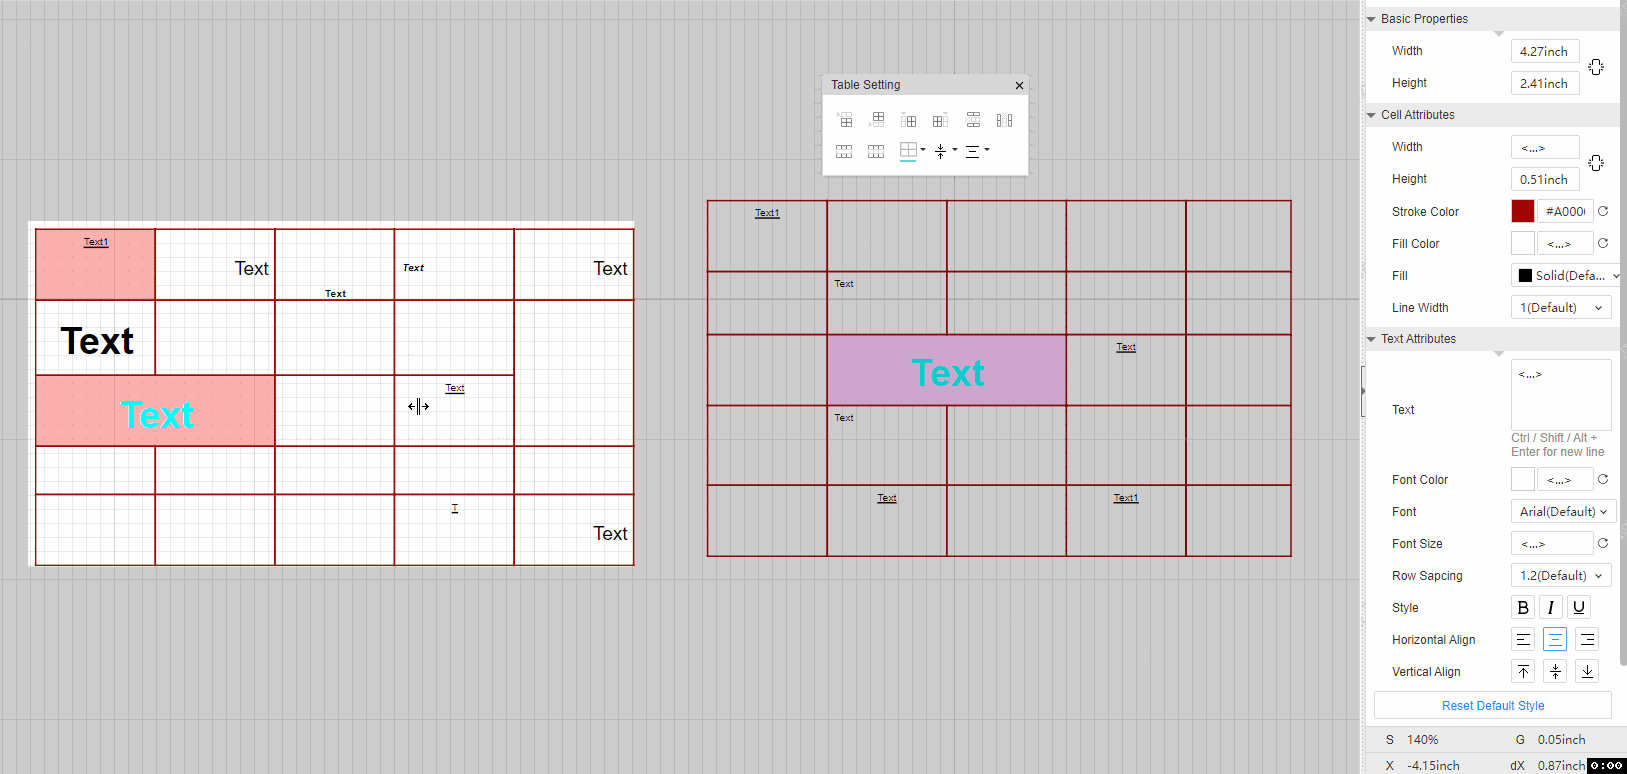
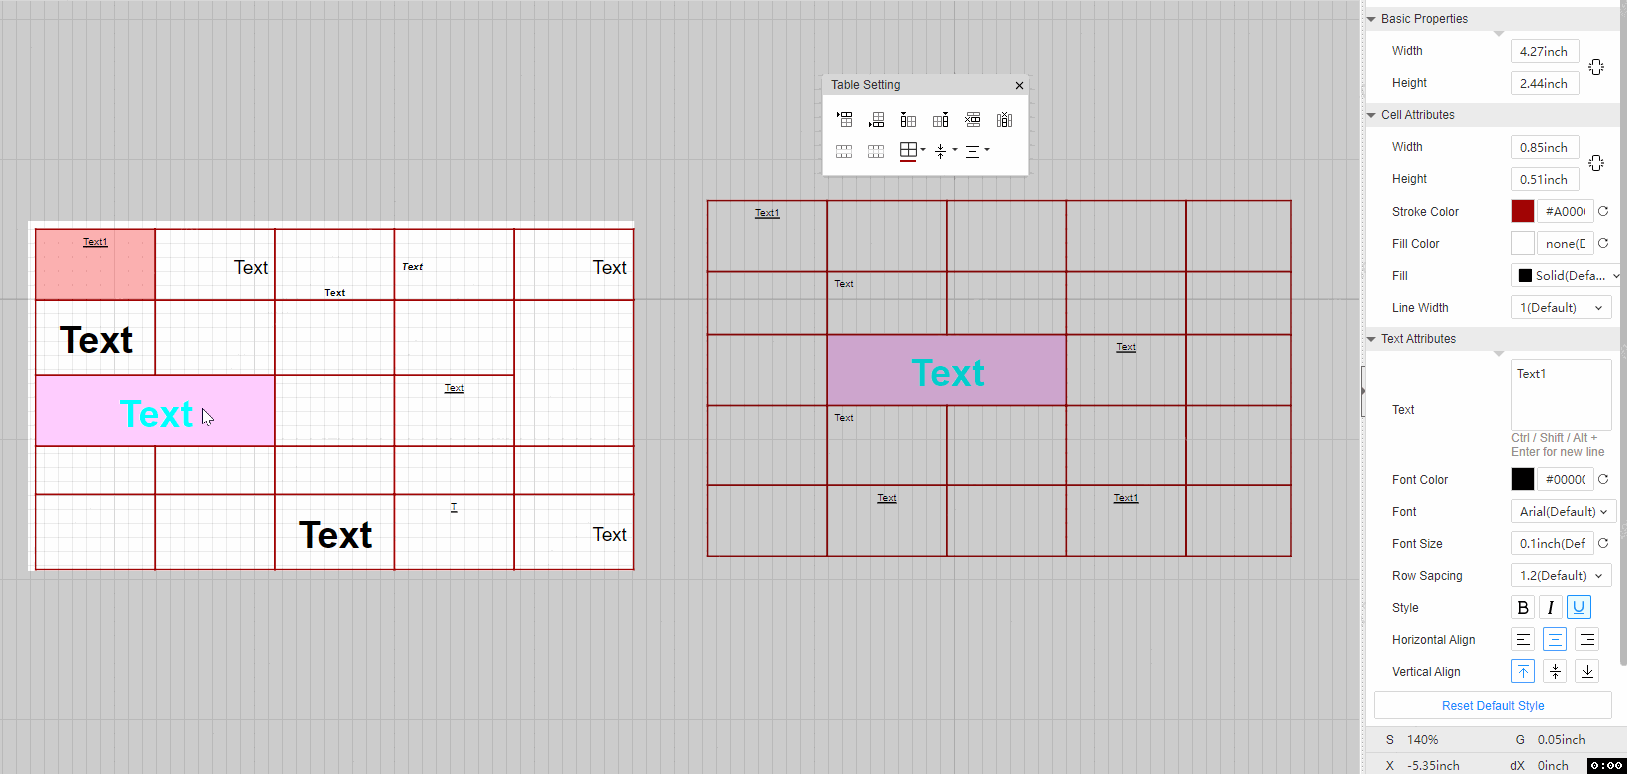
Right-Hand Property
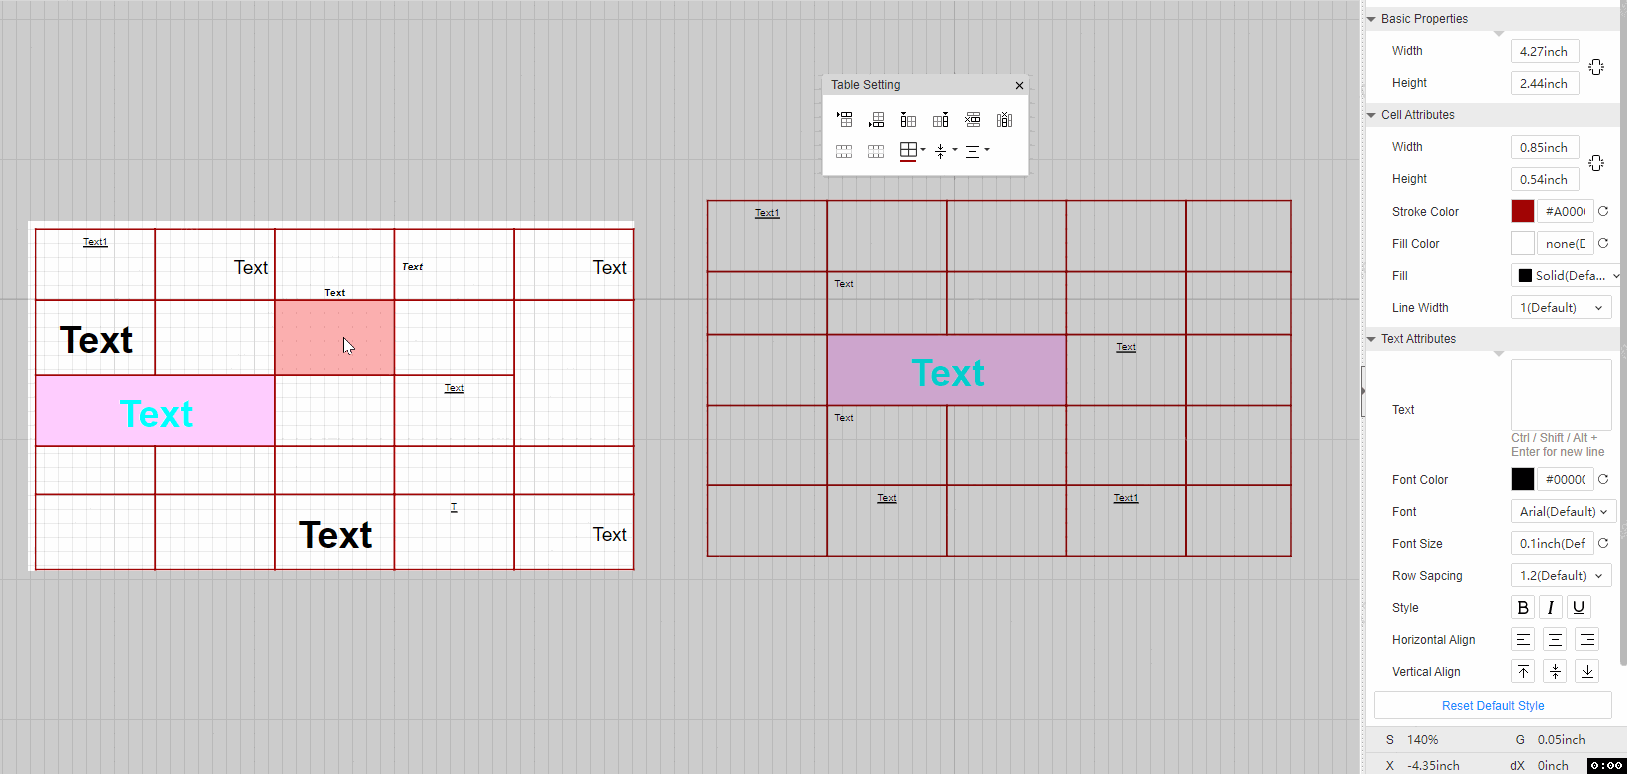
When selecting an entire table, the adjustment of the properties on the right is for the entire table and can be adjusted to the corresponding properties of all cells and text in batches.
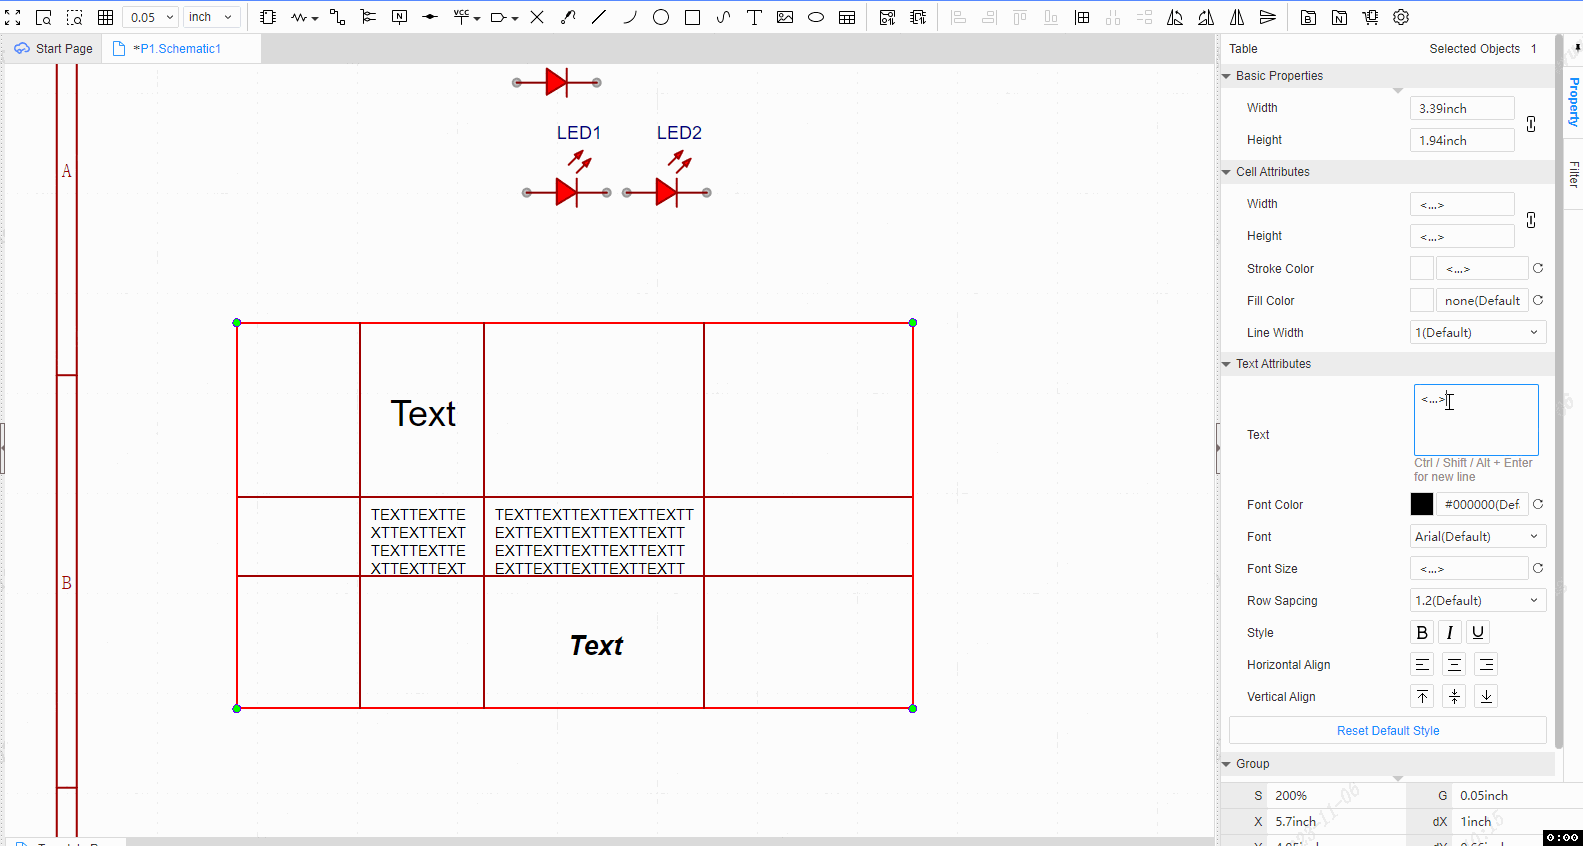
When selecting a specific cell or text, the adjustment of the property on the right is only applicable to the selected cell or text.