Place arc
arc
The panel provides three tools for drawing arcs, just like PCB. Three points arc and two points arc are only drawn differently, and the attribute classification names are collectively referred to as two points arc. The difference between the center arc and the two points arc lies in the different adjustment rules on the canvas, and the attribute items are the same.
Function entry
Top menu
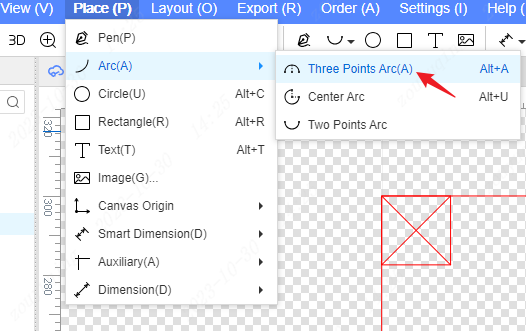
- Top Menu - Place - Arc - Three Points Arc
- menu shortcut: P+A+A
- global shortcut: Alt+A
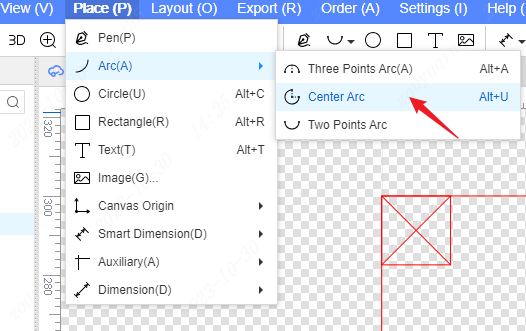
- Top Menu - Place - Arc - Center Arc
- global shortcut: Alt+U
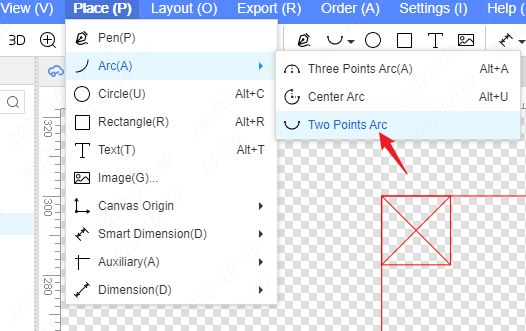
- Top Menu - Place - Arc - Two Points Arc
Top toolbar
- Directly click the arc icon in the top toolbar, the default is a three-point arc, you can also expand the drop-down options to switch to choose other ways of drawing arcs.

Operation steps
Three points arc
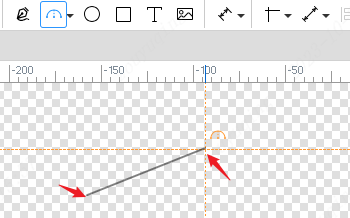
After selecting the "three points arc" drawing method at the function entrance, the "three points arc" type icon will be displayed in the upper right corner of the cursor. Click the left mouse button anywhere on the canvas for the first time to determine the starting point of the arc, move the cursor, and a transparent indicator line will be visible between the starting point and the cursor point to be determined.
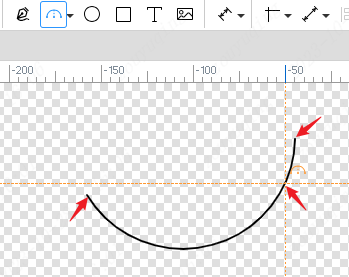
Click the left mouse button again to determine the end point of the arc at any position on the canvas, move the cursor, and display the arc starting point, end point, and the arc line to be determined by the cursor point.
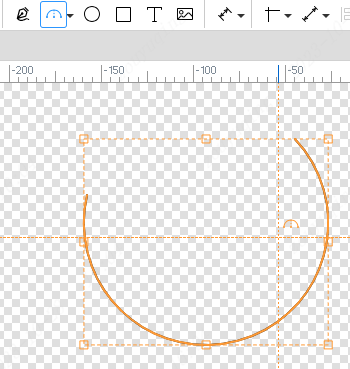
The third left mouse button can determine the radius of the arc, complete the drawing of this arc, and enter the drawing of the next three points arc.
Center arc
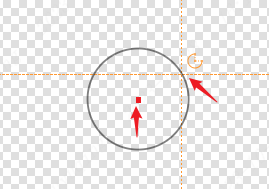
After selecting the "Center Arc" drawing method at the function entrance, follow the "Center Arc" type icon in the upper right corner of the cursor. The first left mouse button at any position on the canvas determines the center of the arc, move the cursor, and a circular indicator line with a radius from the center of the circle to the cursor point to be determined will be displayed.
Press the left mouse button again to determine the starting point and radius of the arc, and display the arc line from the starting point to the cursor point to be determined.
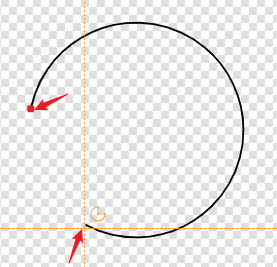
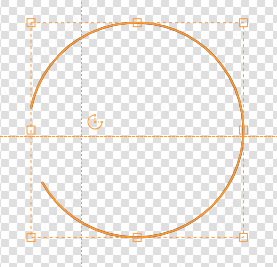
The third left mouse button can determine the end point of the arc, complete the drawing of this arc, and enter the drawing of the next central arc.
Two points arc
After selecting the "two points arc" drawing method at the function entrance, the "two points arc" type icon will be displayed in the upper right corner of the cursor. The first left mouse button at any position on the canvas determines the starting point of the arc. Move the cursor to display an arc with the diameter of the distance from the starting point of the arc to the cursor point to be determined.
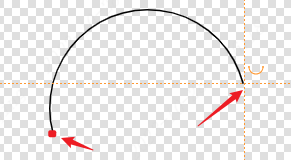
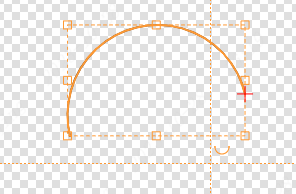
The second left mouse button can determine the end point and radius of the arc, complete the drawing of this arc, and enter the drawing of the next two-point arc.
Arc mask
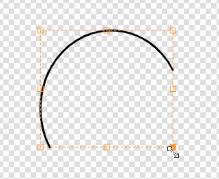
Directly selecting the arc in the panel is an 8-point control mode, which can stretch, rotate, flip and other operations on the arc.
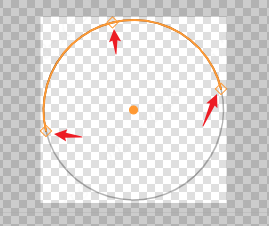
If you want to adjust the starting point, end point, or radius of an arc on the canvas, you need to double-click the arc to enter its mask mode. Double-clicking the mouse and pressing Esc can exit the arc mask.
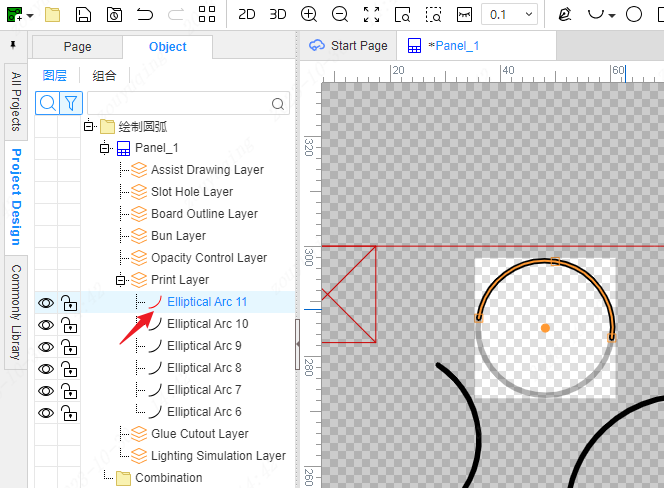
In the object tree on the left, when it is visible under a certain arc mask, the corresponding icon will be displayed in red as a prompt.
Arc control point
Start point, End point
The control points at the starting and ending points of the two points arc can be dragged arbitrarily. If the starting point of the arc is moved, the end point of the arc will remain, and the center of the circle will be recalculated and updated in real time. Conversely, the same goes for moving the end point of the arc.
 Press Shift to move the starting point or end point of the arc, which will maintain the radius ratio of the arc, that is, it is always a positive arc or an elliptical arc.
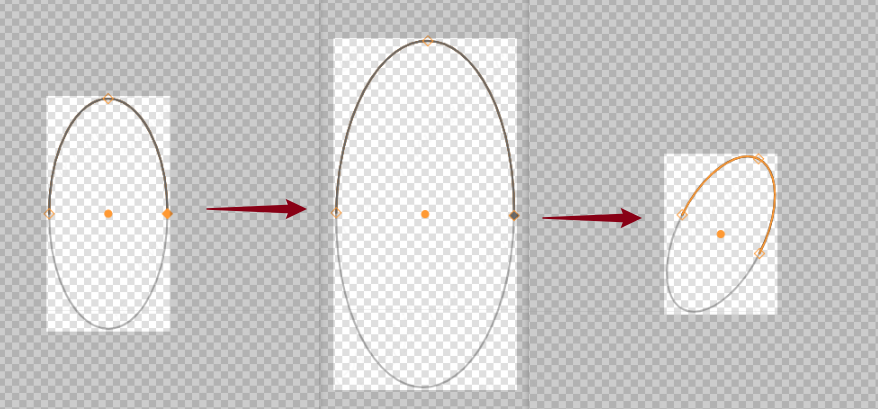
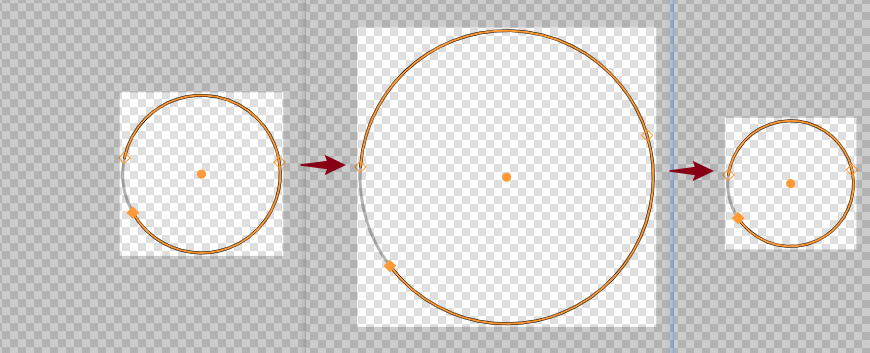
The control points at the starting and ending points of the central arc can only move on the circumference, changing the starting and ending angles of the arc, and the length and radius of the arc are maintained.


Ctrl switching type , hold down the Ctrl key at the starting point and end point of the two-point arc to drag it to keep moving on the circumference, that is, temporarily switch to the center arc mode. (Conversely the same)
Midpoint of circular arc
The midpoint of the arc can only move in a straight line with the center of the circle.

Directly drag the midpoint of the arc, and the elliptical arc will automatically adjust to a positive arc.
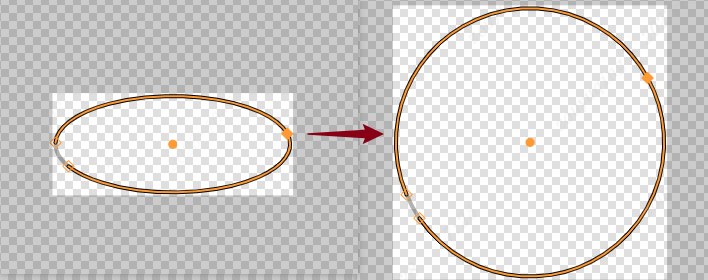
Hold down the Alt key and drag the midpoint of the arc to keep the starting and ending positions of the arc, and the ratio of the length and radius of the arc is not maintained.

Press and hold Alt key + Shift key to drag the midpoint of the arc, it will keep the ratio of the length and radius of the arc, the same as the effect of center scaling.
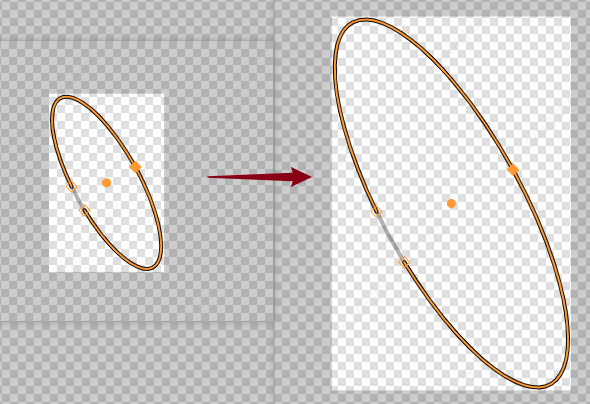
Center of circle
- Drag the center of the circle to move the entire arc in arc mask mode. You can also drag the entire arc at the arc line position of non-control points.
Arc filling
The filling area of the arc in the panel is the area within the closed path formed by the arc line connecting the starting and ending points.
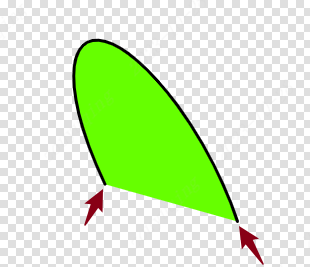
Right property
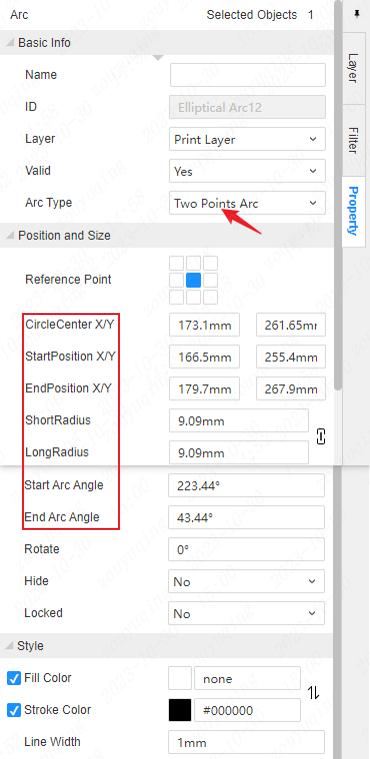
The two points arc and the center arc can be switched and adjusted through the "Arc Type" attribute setting item on the right.
In the attribute panel on the right, you can also adjust the coordinates, length radius, start angle, end angle, and other attribute values of the arc control point.
